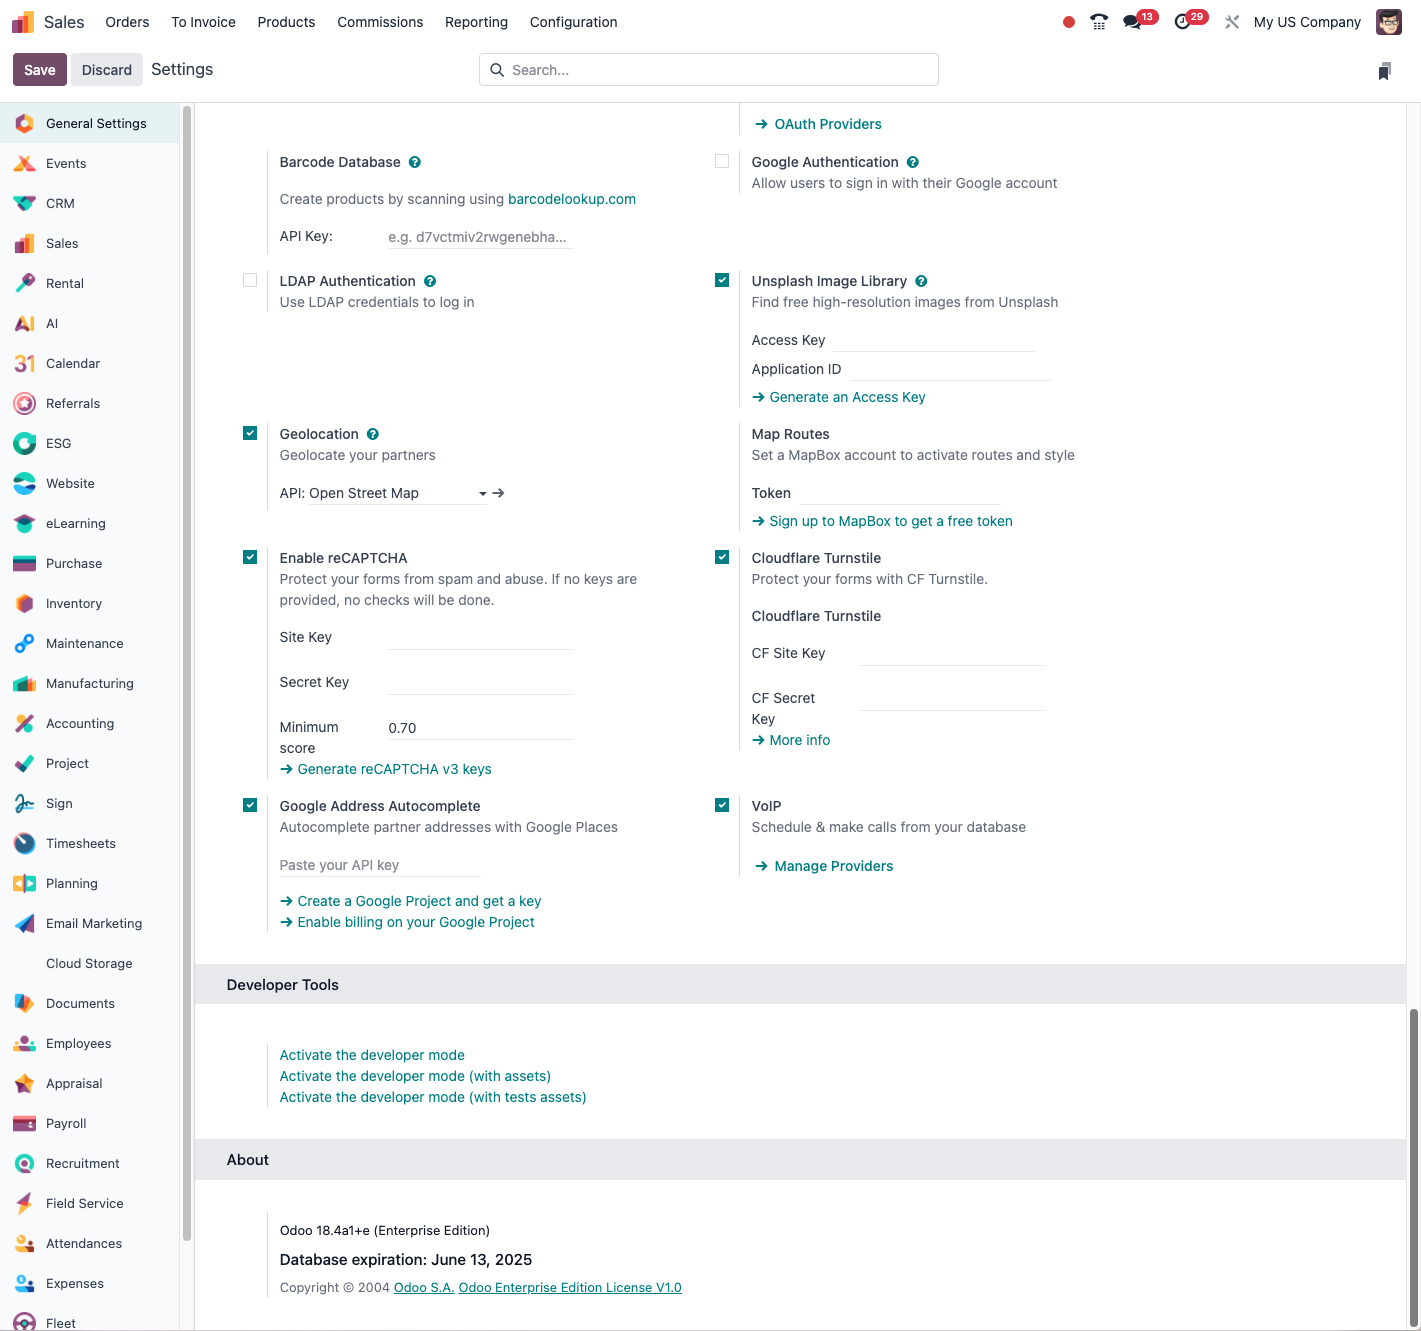
The interface
Reaching Odoo
Logging in
To reach your Odoo system:
- Open your web browser (Chrome, Firefox, Edge or Safari are recommended).
- Type the URL of your Odoo instance in the address bar.
- On the login page, enter your email address.
- Enter your password.
- Click Log in.
Tip
If you have forgotten your password, click the "Reset password" link and follow the instructions to set a new one.
Mobile applications
Odoo is also reachable through mobile applications for iOS and Android:
- Download the Odoo application from the App Store or Google Play.
- Launch the application and enter the URL of your Odoo server.
- Log in with your usual credentials.
Note
Odoo's official mobile applications generally require Odoo Enterprise (version 10 and above for iOS, 16 and above for Android). They give access to the essential features, but some advanced operations may still call for the web version.
Structure of the interface
Home screen and dashboard
Once you are logged in, you land on the home screen, which presents:
- the application menu, at the top of the screen;
- your main dashboard, if one is configured;
- the recent and upcoming activities.
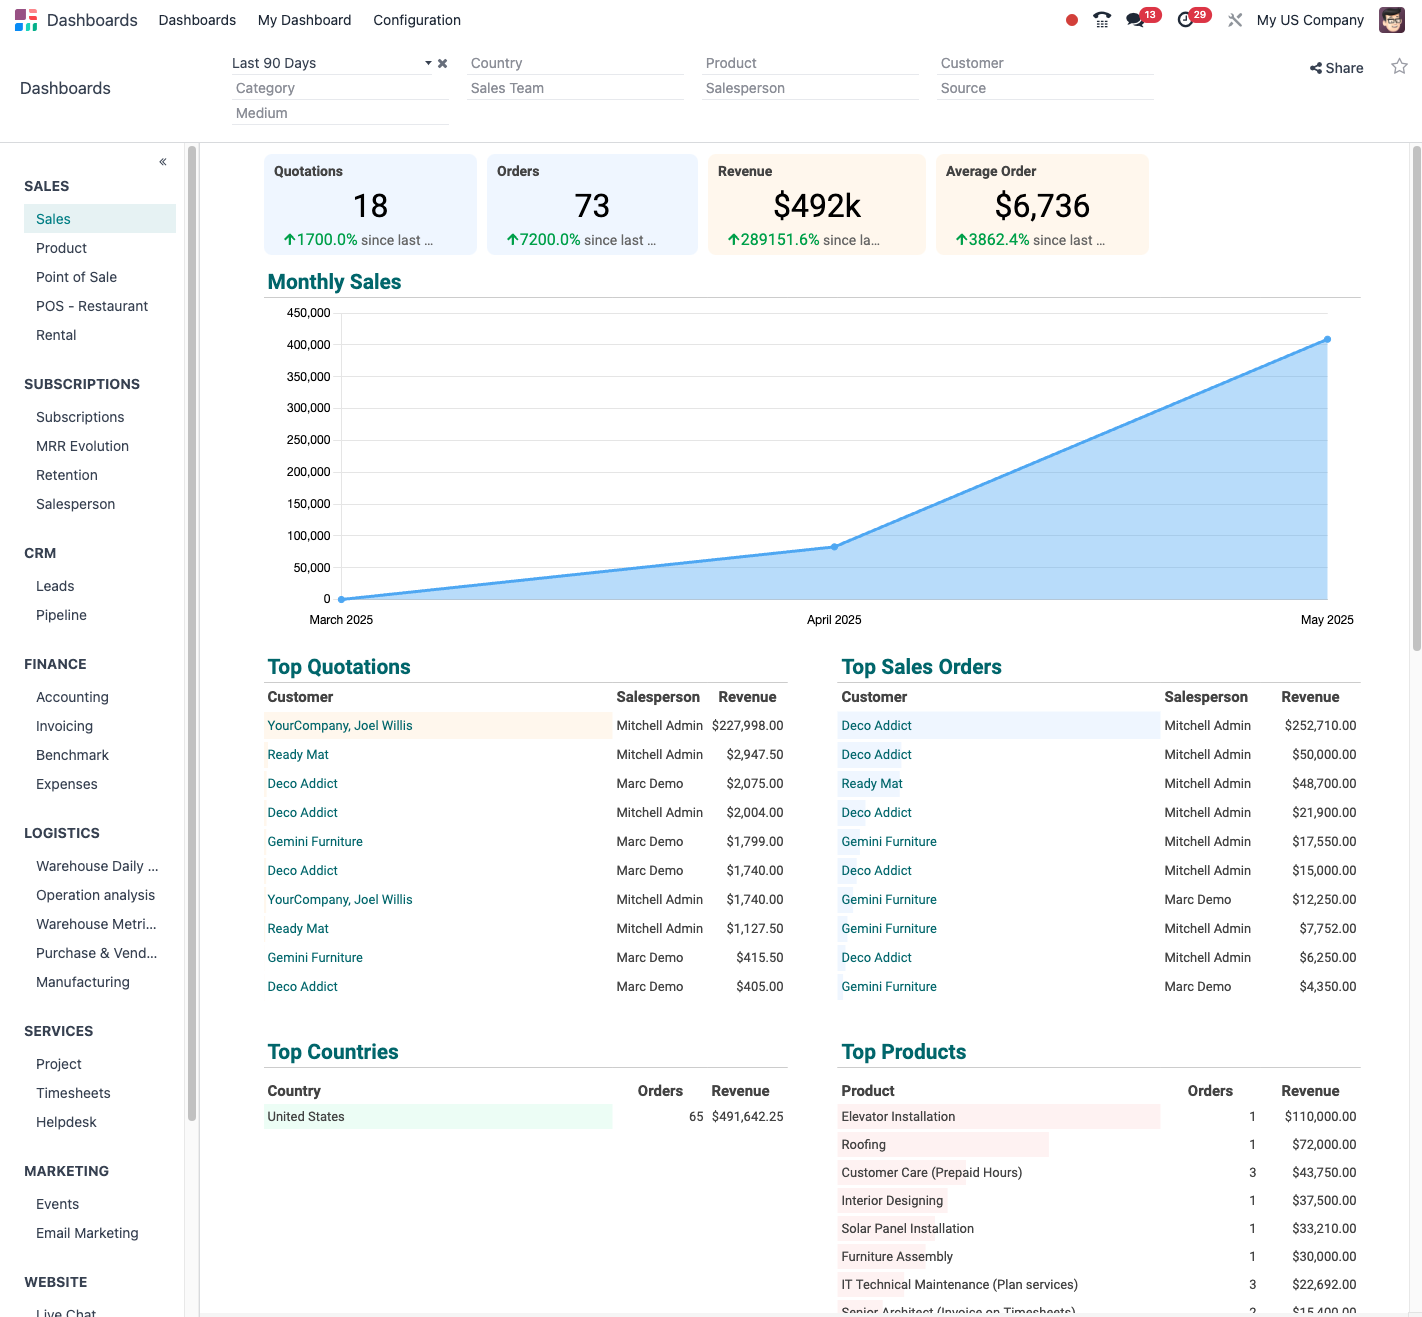
The main elements of the interface
Odoo's interface is made of several elements common to every application:
- The application bar: at the top of the screen, it gives access to the applications installed.
- Search Bar: a global search across the whole database.
- The navigation menu: on the left, it shows the sections of the active application.
- The main area: in the centre, it displays the active content: lists, forms and so on.
- The user menu: at the top right, it gives access to the user settings.
- The breadcrumb: at the top of the main area, it shows where you are.
Navigating in Odoo
The application menu
The application menu is the way into Odoo's various features:
- Click the menu icon, the three horizontal bars at the top left.
- Select the application you want from the list that appears.
- To go back to the home screen, click the house icon.
You can change the order of the applications in the menu:
- In the application menu, hover over an application's icon.
- Click and hold the icon, then drag the application to the position you want.
- The application then stays where you placed it.
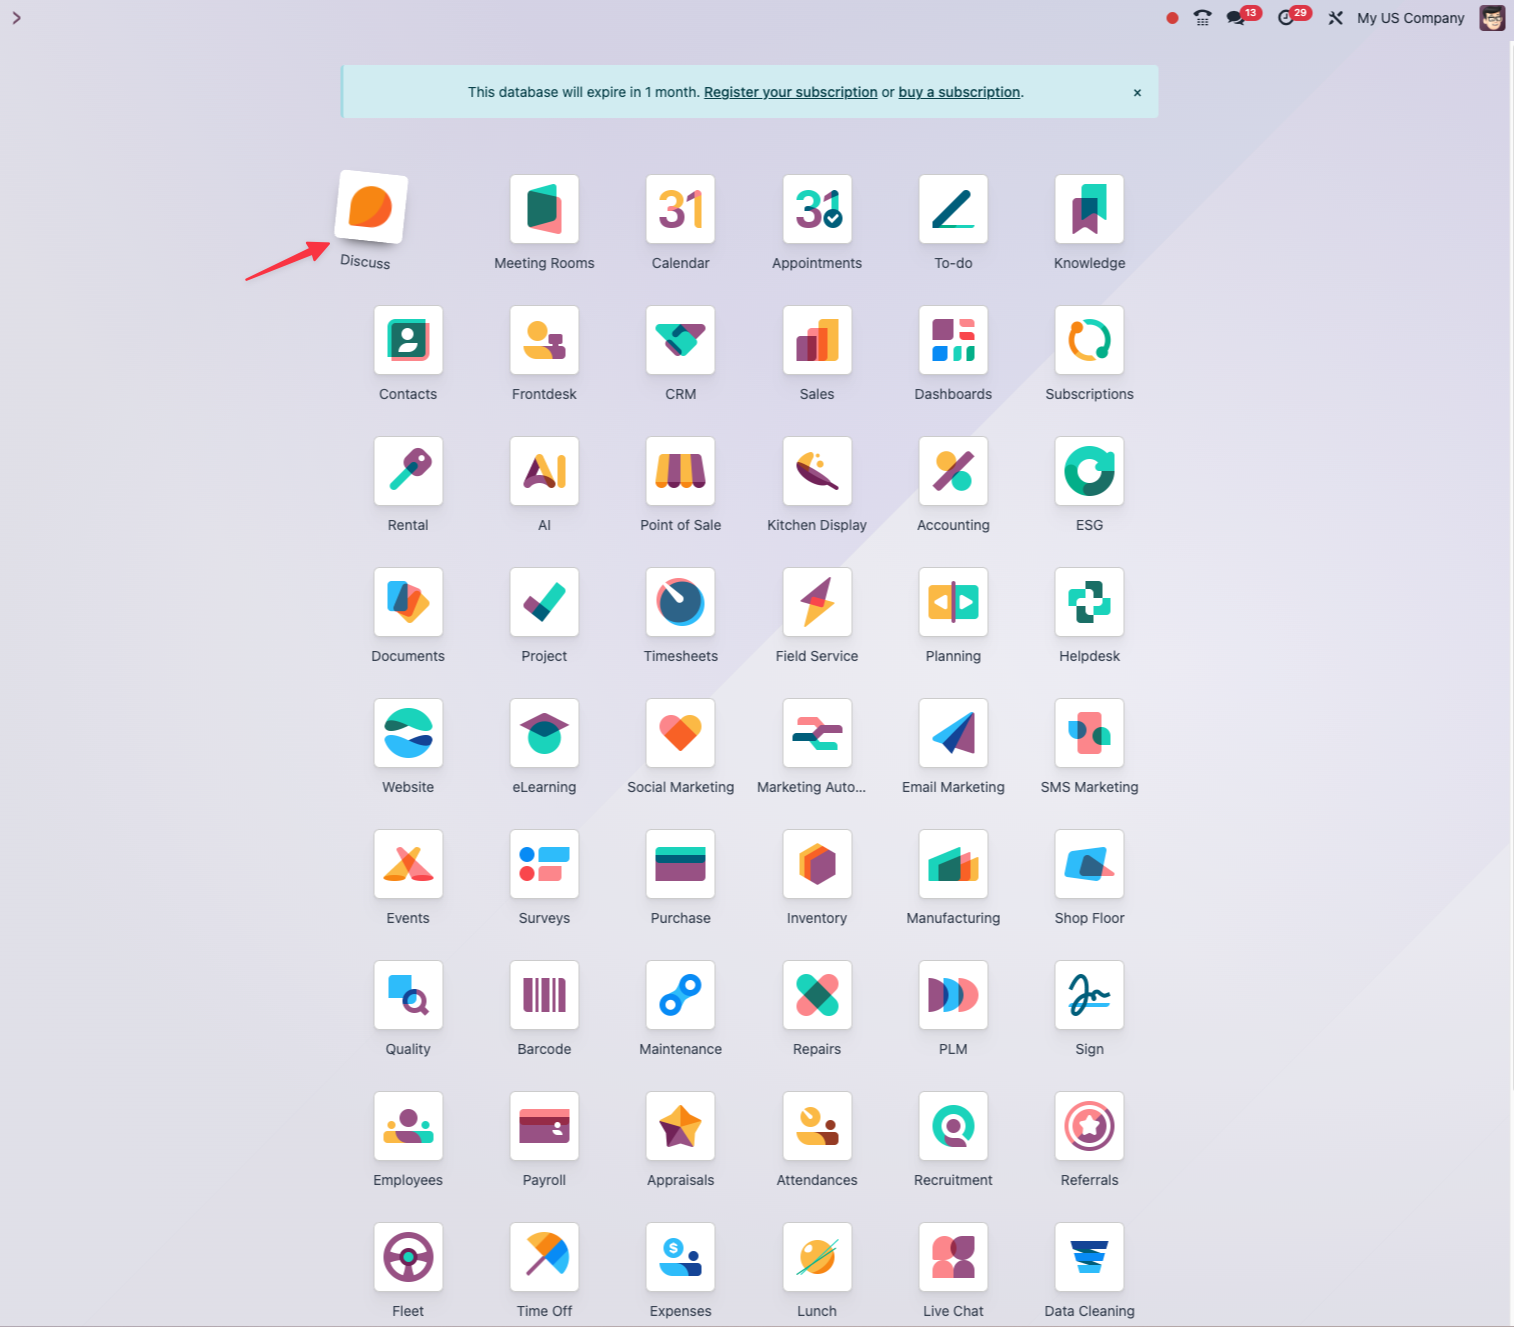
The navigation menu
Each application has a navigation menu at the top of the screen:
- The main menu entries give access to the features of the application.
- Some menus hold sub-menus, shown by an arrow.
- Click a menu entry to reach the matching feature.
Global search
The search bar at the top of the screen lets you find any piece of information quickly:
- Click in the search bar and type your search term.
- The results appear sorted by category: customers, products, documents and so on.
- Click a result to open it directly.
Tip
Odoo's global search is straightforward and looks in every relevant field. Simply type the terms you are looking for and Odoo displays the matching results, sorted by type of record.
Types of view
Odoo offers several ways of displaying your data, to suit the task in hand.
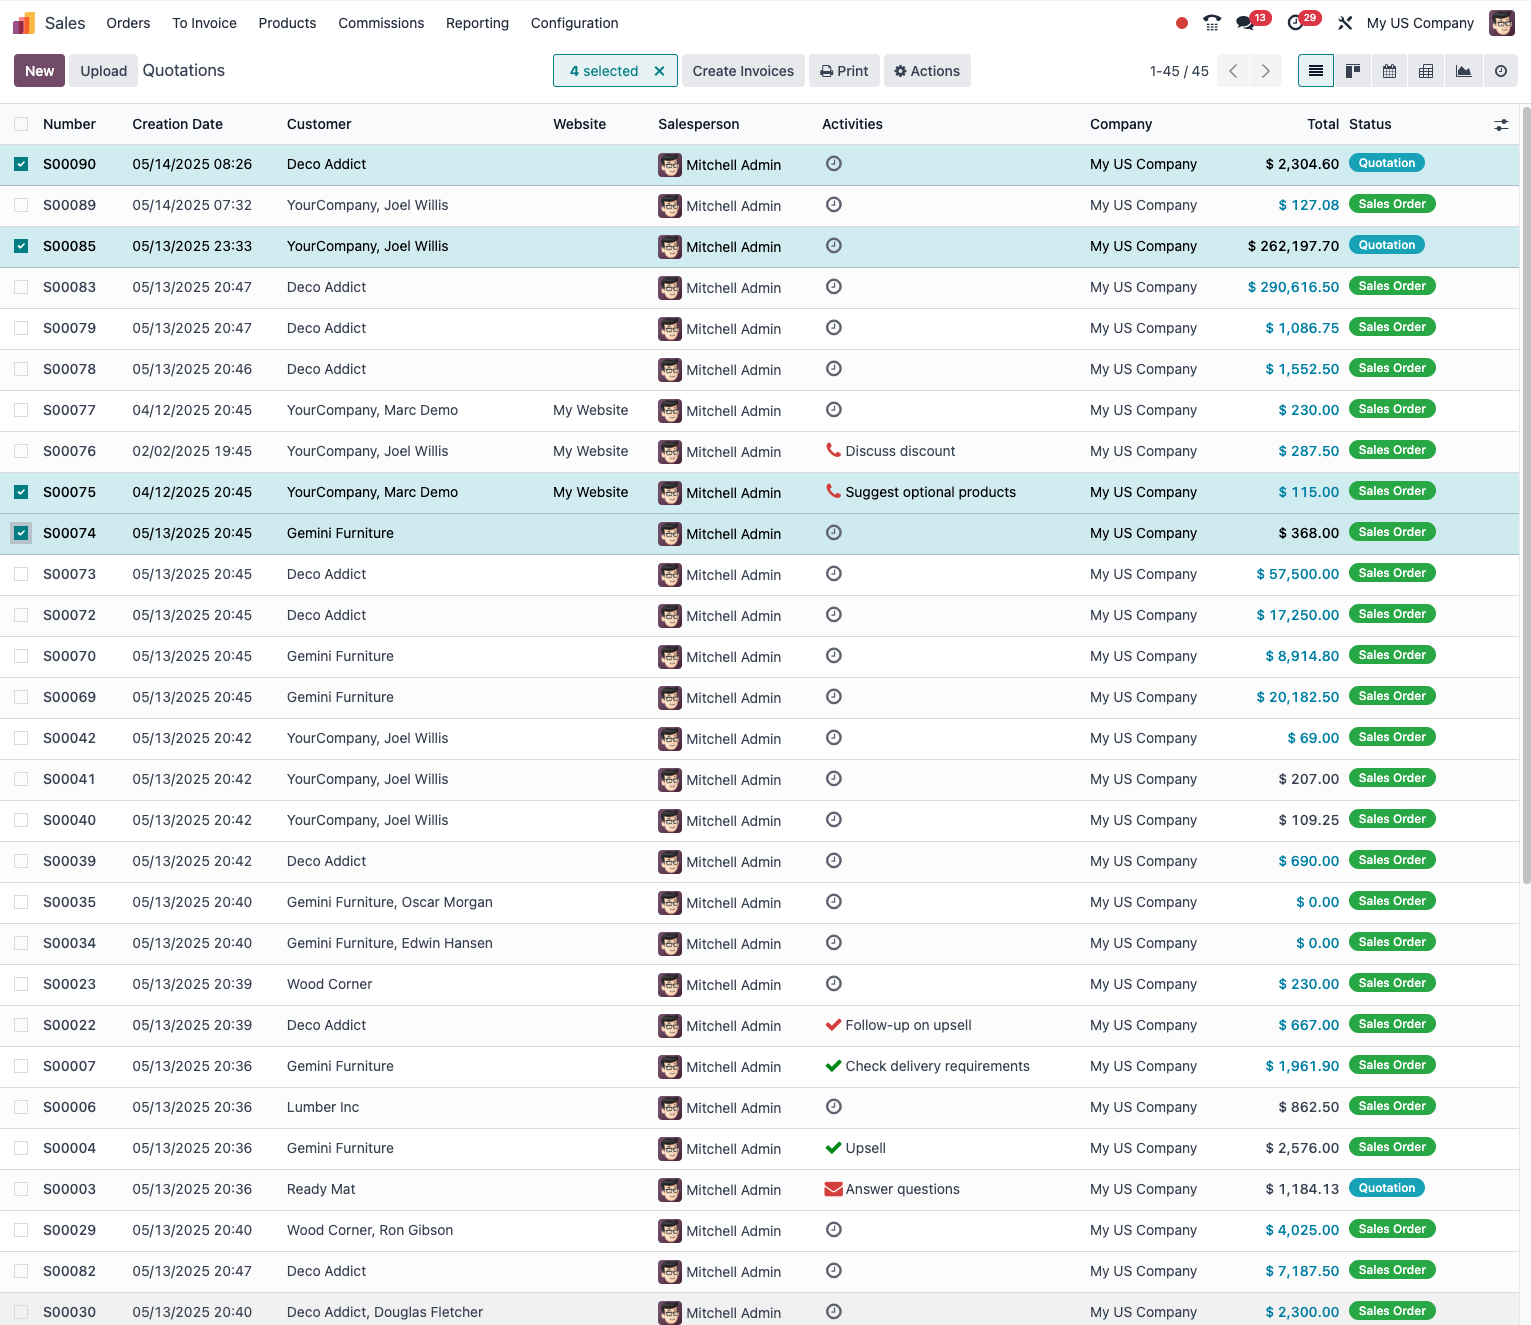
List view
The list view displays your data as a table:
- Each row is a record: a customer, a product, an order.
- The columns show the different pieces of information.
- Click a row to open the matching record.
- Use the column headers to sort the data.
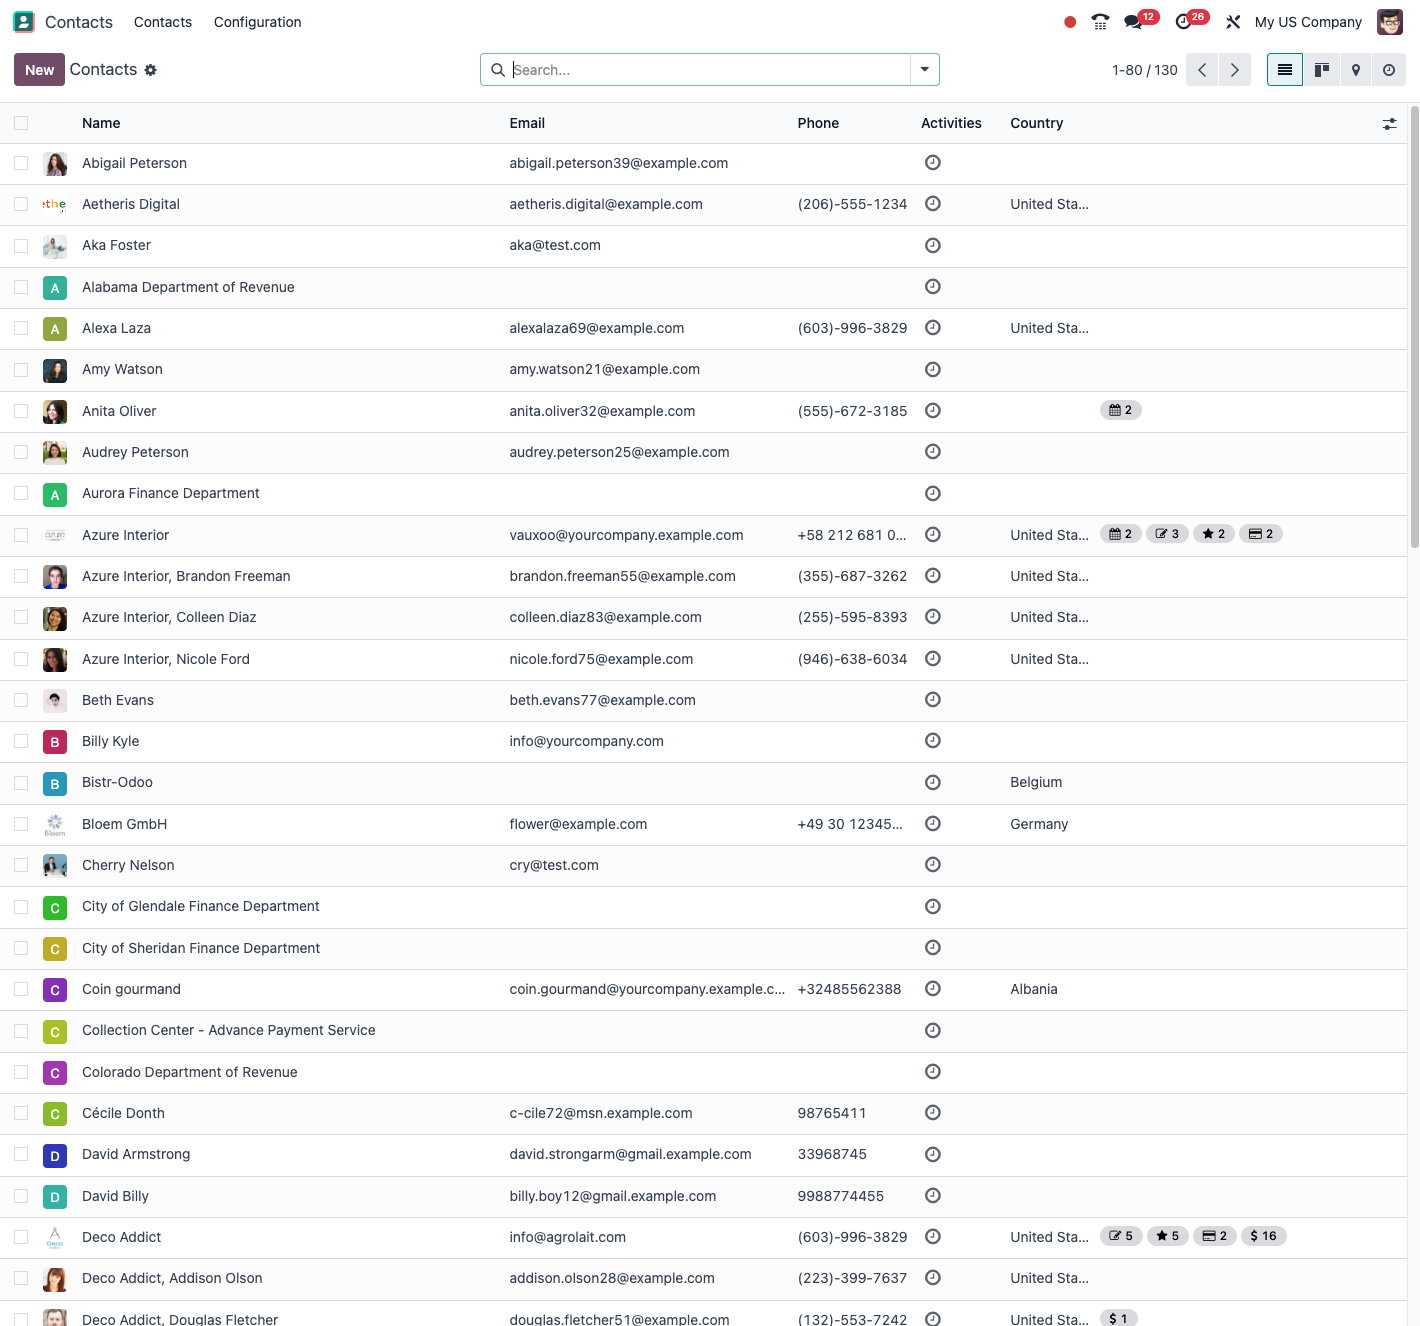
In list views you can select several records at once:
- Tick the boxes to the left of the rows you want.
- Use the box at the very top to select or clear every record.
- With a selection active, an "Action" menu appears for bulk operations.
Form view
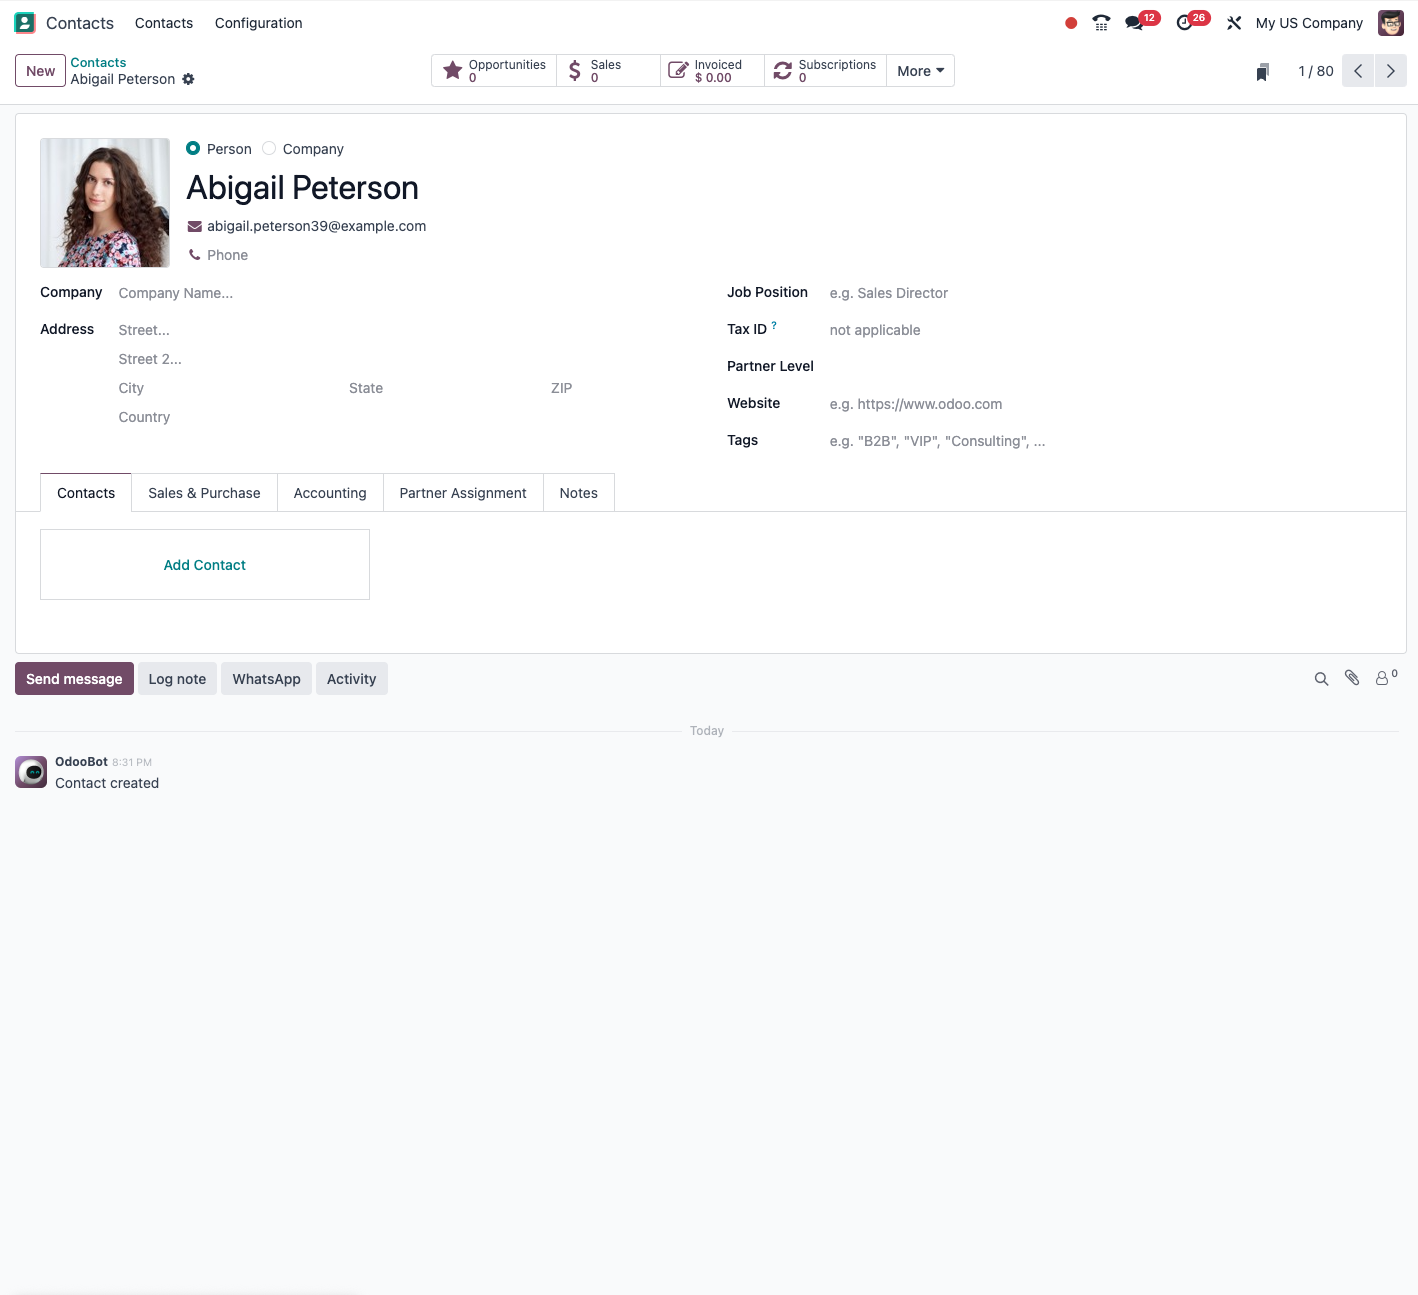
The form view lets you consult and change a particular record:
- The information is organised into sections or tabs.
- Mandatory fields are generally marked with an asterisk.
- The action buttons sit at the top of the form.
- Use the navigation arrows to move from one record to the next.
Kanban view
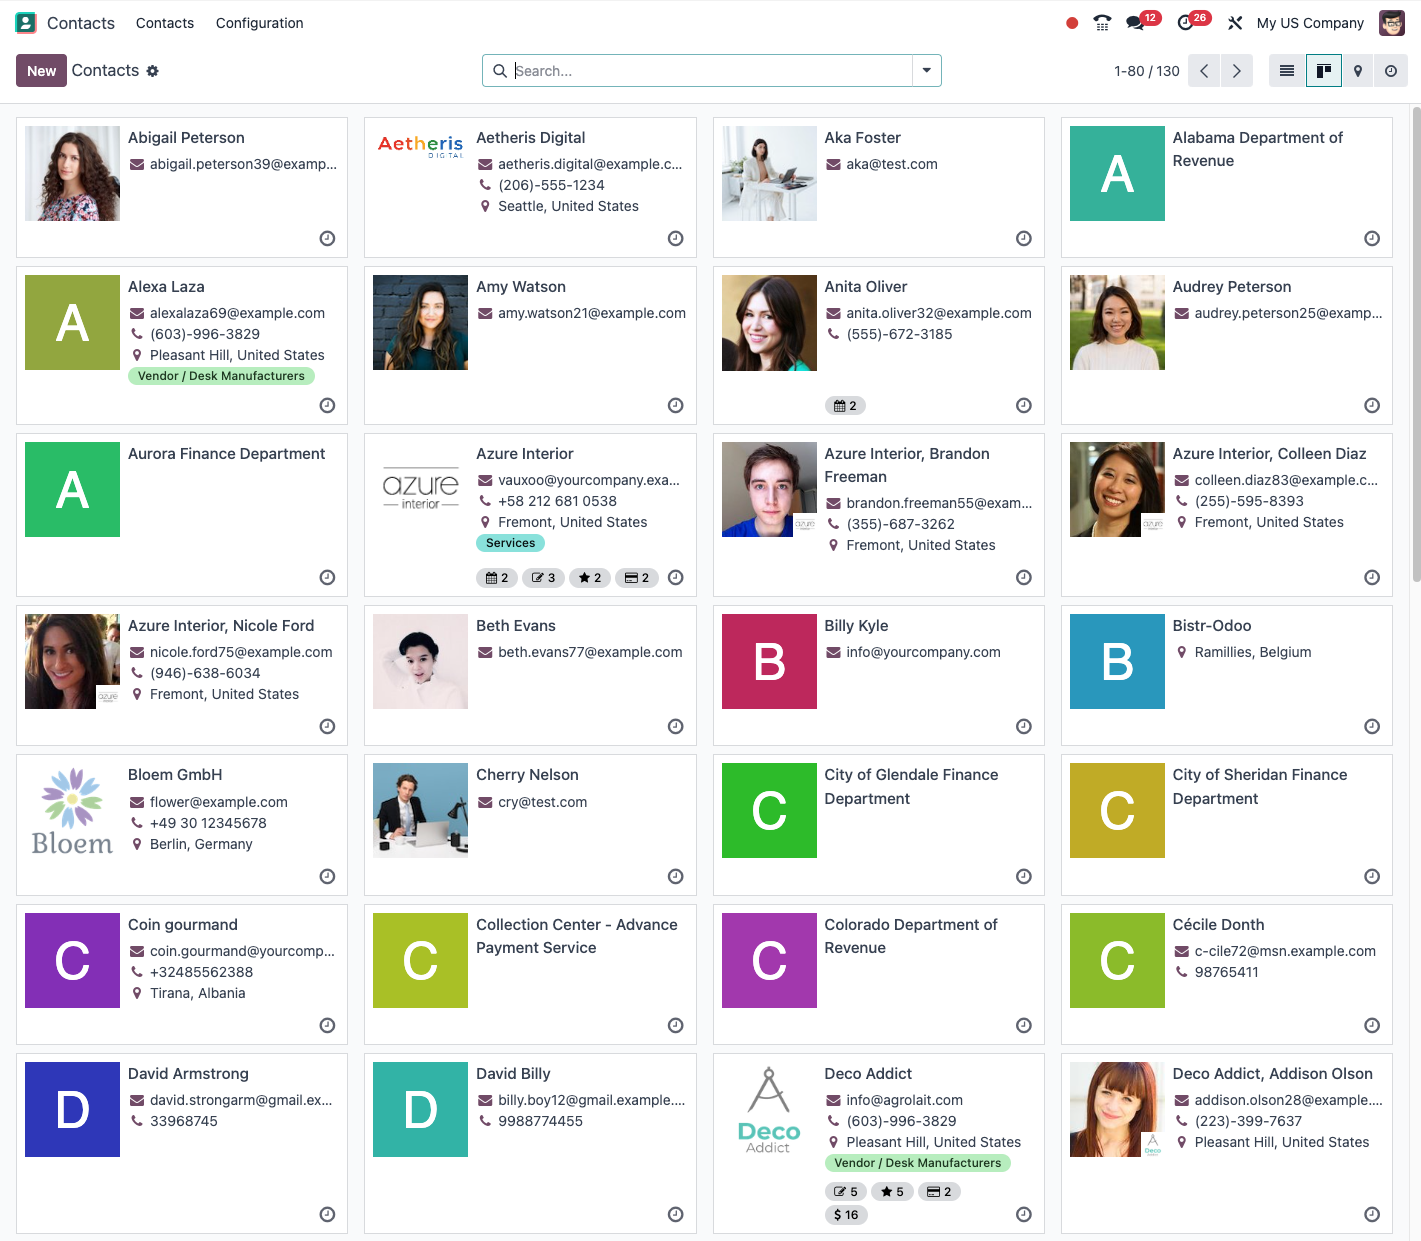
The kanban view presents the data as cards, often organised in columns:
- Each card is a record.
- Cards can be moved from one column to another by drag and drop.
- Click a card to open the matching record.
Tip
The kanban view is particularly useful for seeing workflows (a sales pipeline, project tasks) and for following how items progress.
Other types of view
Odoo also offers other views for specific needs:
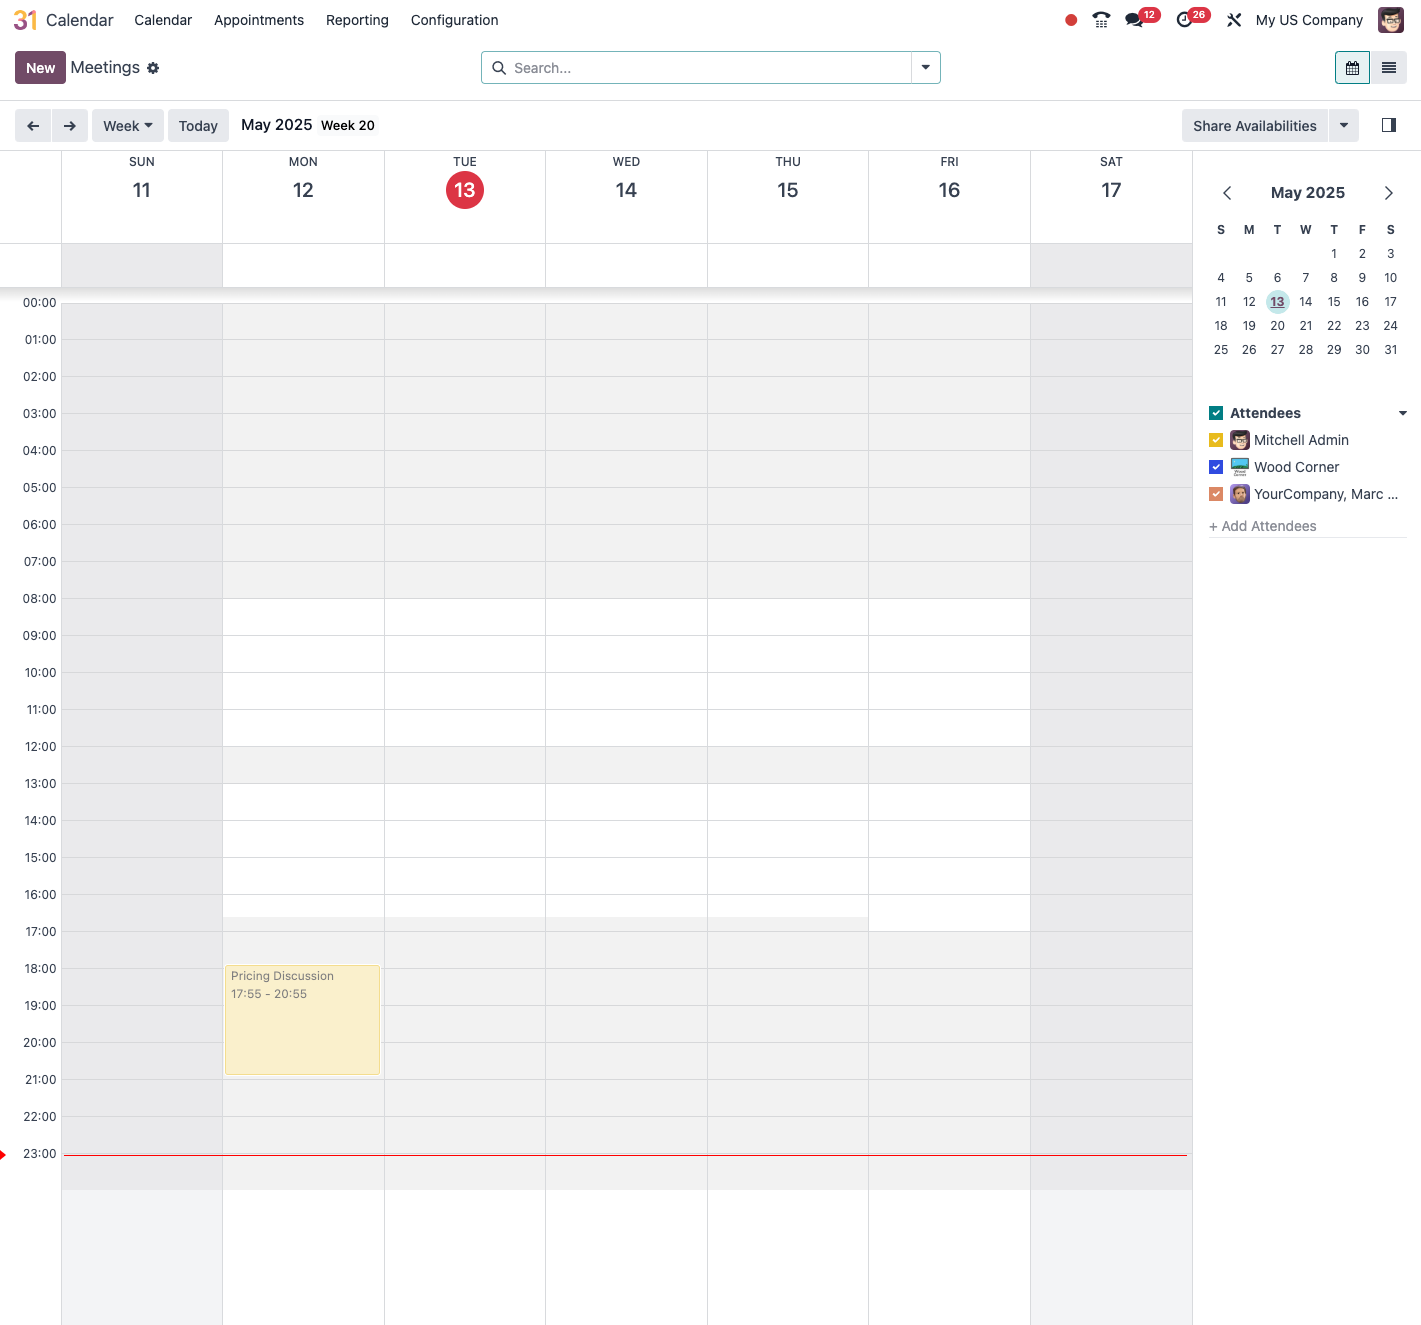
- Calendar View: displays events on a calendar, by day, week or month.
- Graph View: presents data as charts and diagrams.
- Pivot view: lets you analyse data with pivot tables.
- Gantt view: shows project scheduling as Gantt charts.
- Activity view: organises tasks by due date: today, tomorrow, later.
Filtering and grouping
Search filters
Filters narrow down what is displayed:
- Click Filters in the search bar.
- Select a predefined filter or build a custom one.
- Filters can be combined to narrow the results further.
- To save a filter you use often, click Favorites then Save current search.
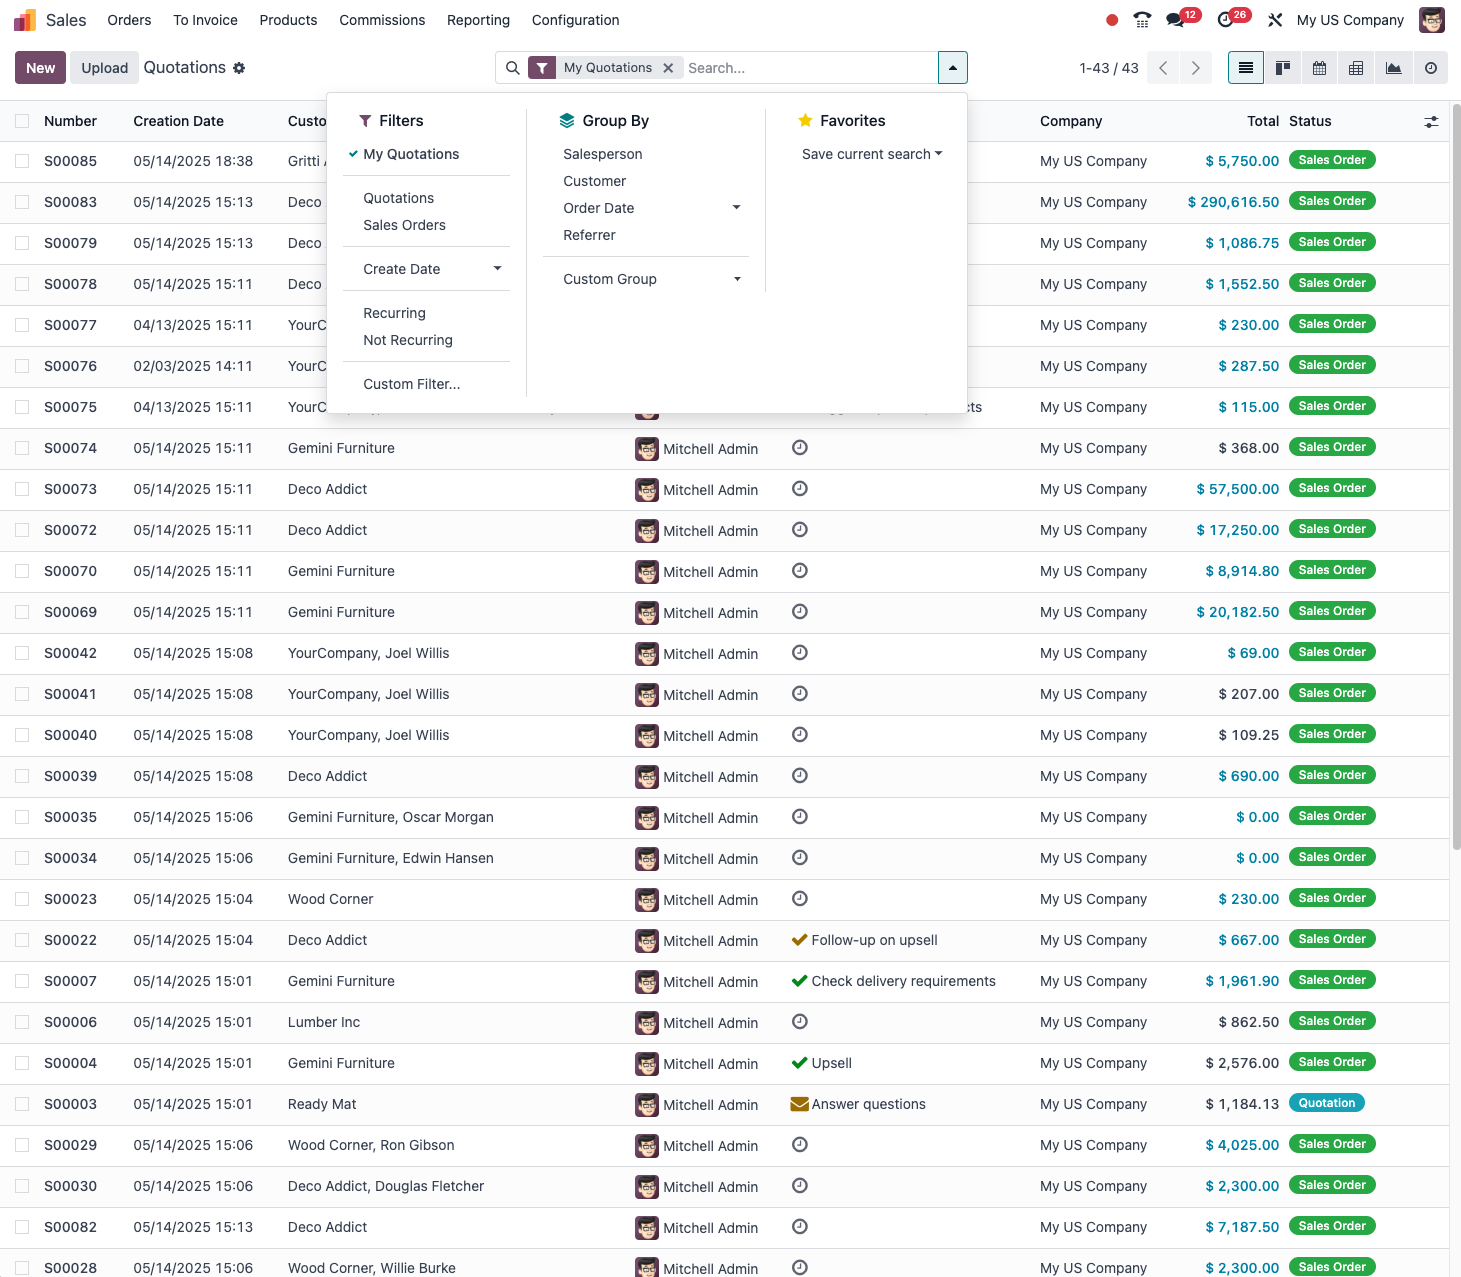
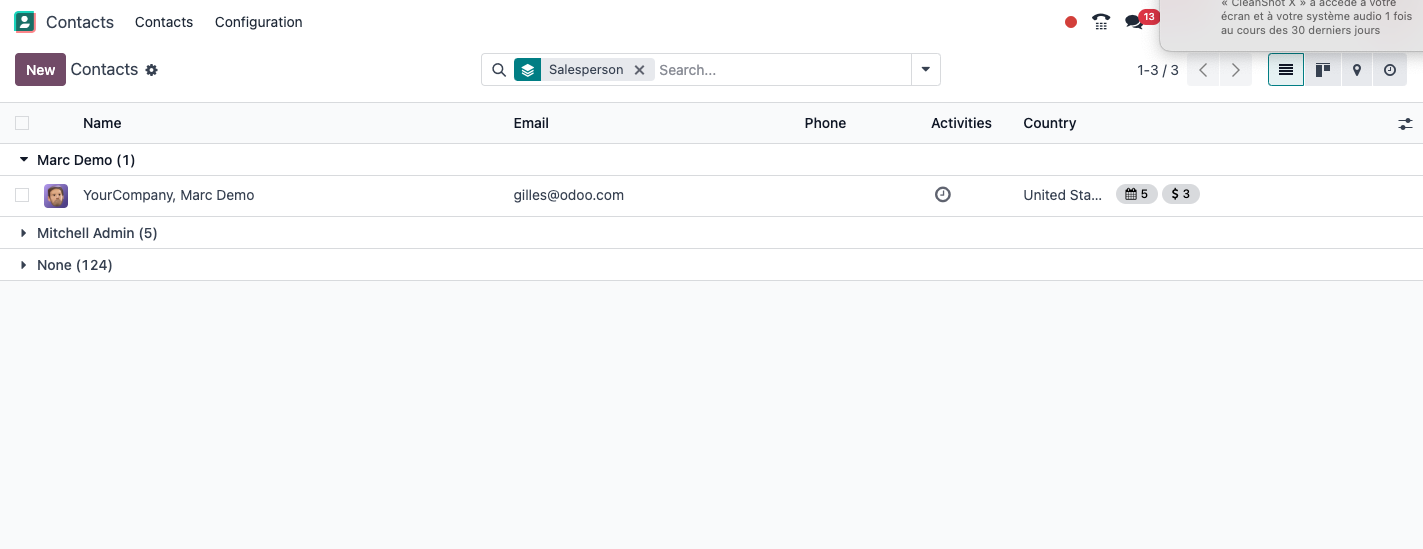
Grouping
Grouping organises the data by a given criterion:
- Click Group By in the search bar.
- Select the grouping criterion you want.
- The data is then organised into collapsible sections.
- You can add several levels of grouping.
Common actions
Creating, editing and deleting
To work with records in Odoo:
- Create: click the Create or New button.
- Edit: open a record and click Edit, or change it directly in form view.
- Save: once the change is made, click Save.
- Archive and unarchive: use the Archive button to hide a record without deleting it.
- Delete: to delete permanently, use the Action menu then Delete.
Note
Archiving is generally preferable to deleting, because it preserves the history and the links between records. Archived items can be found again by applying the "Archived" filter.
Importing and exporting data
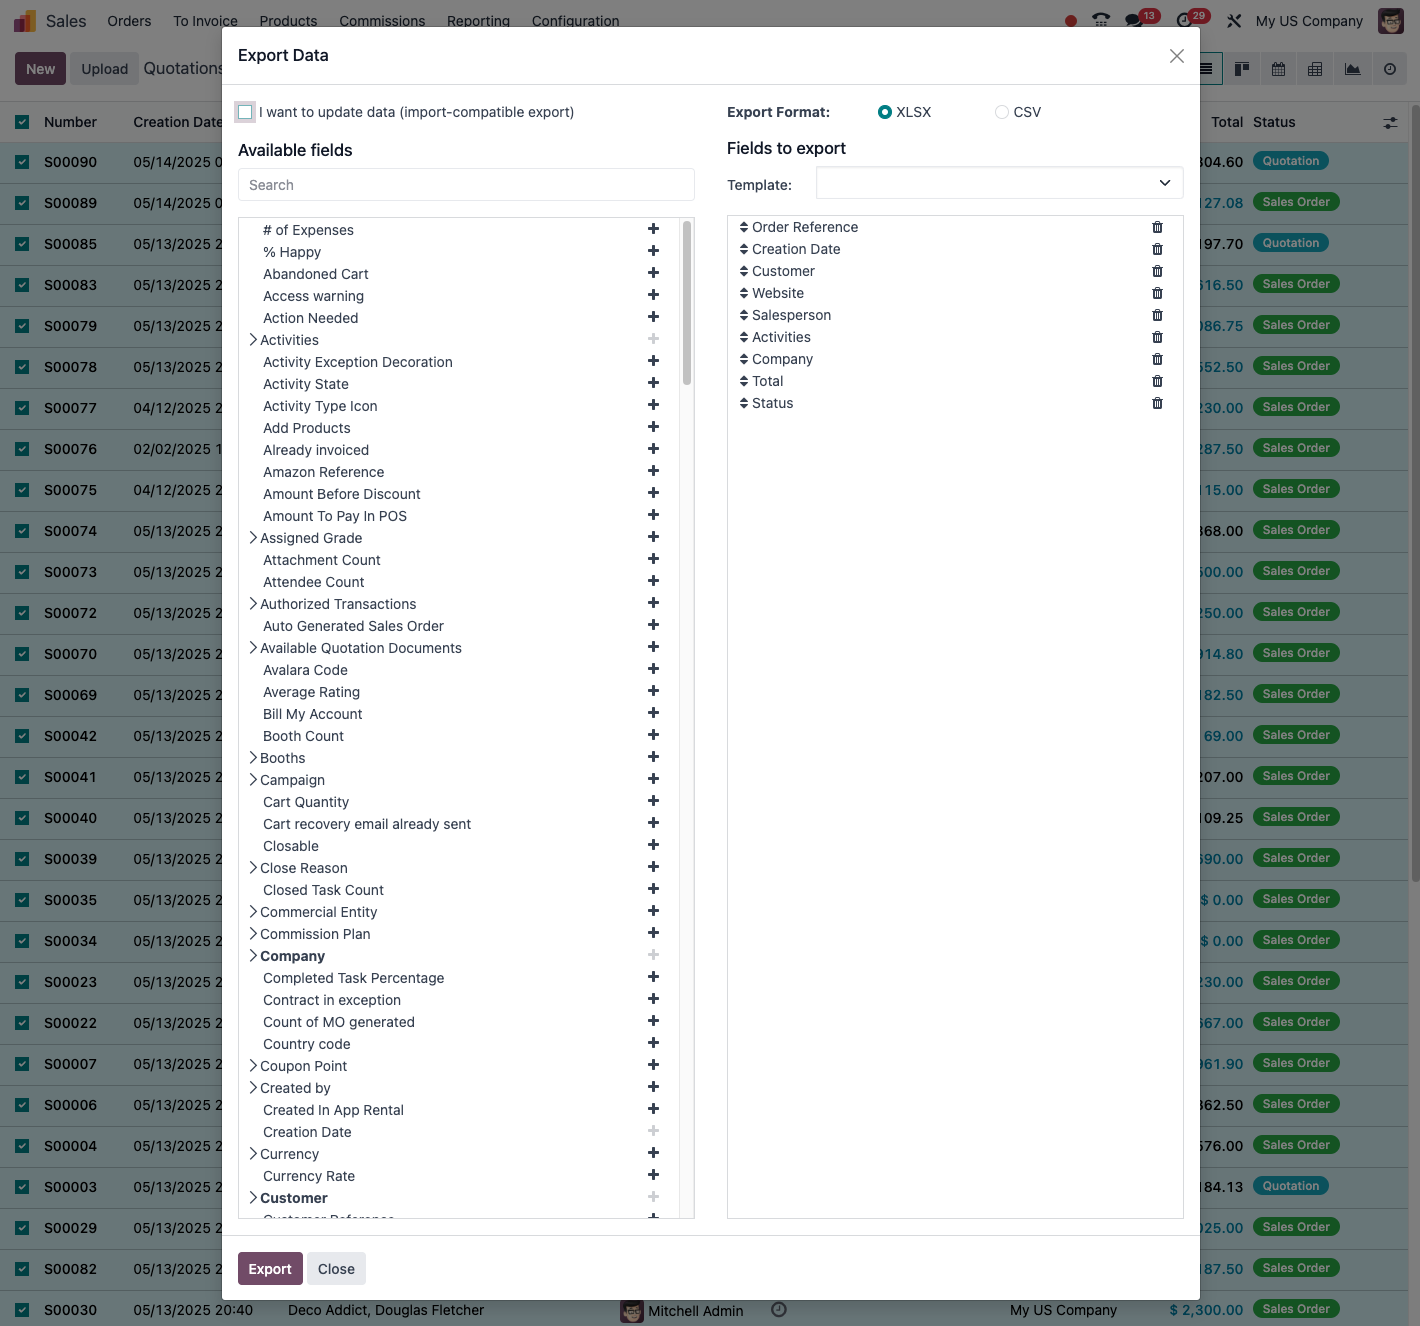
To import or export data:
- Import: in list view, click Import and follow the wizard.
- Export: select the records to export, then click Action and Export.
Tip
For complex imports, start by exporting a few similar records to obtain a model of the format Odoo expects.
User preferences
Personal settings
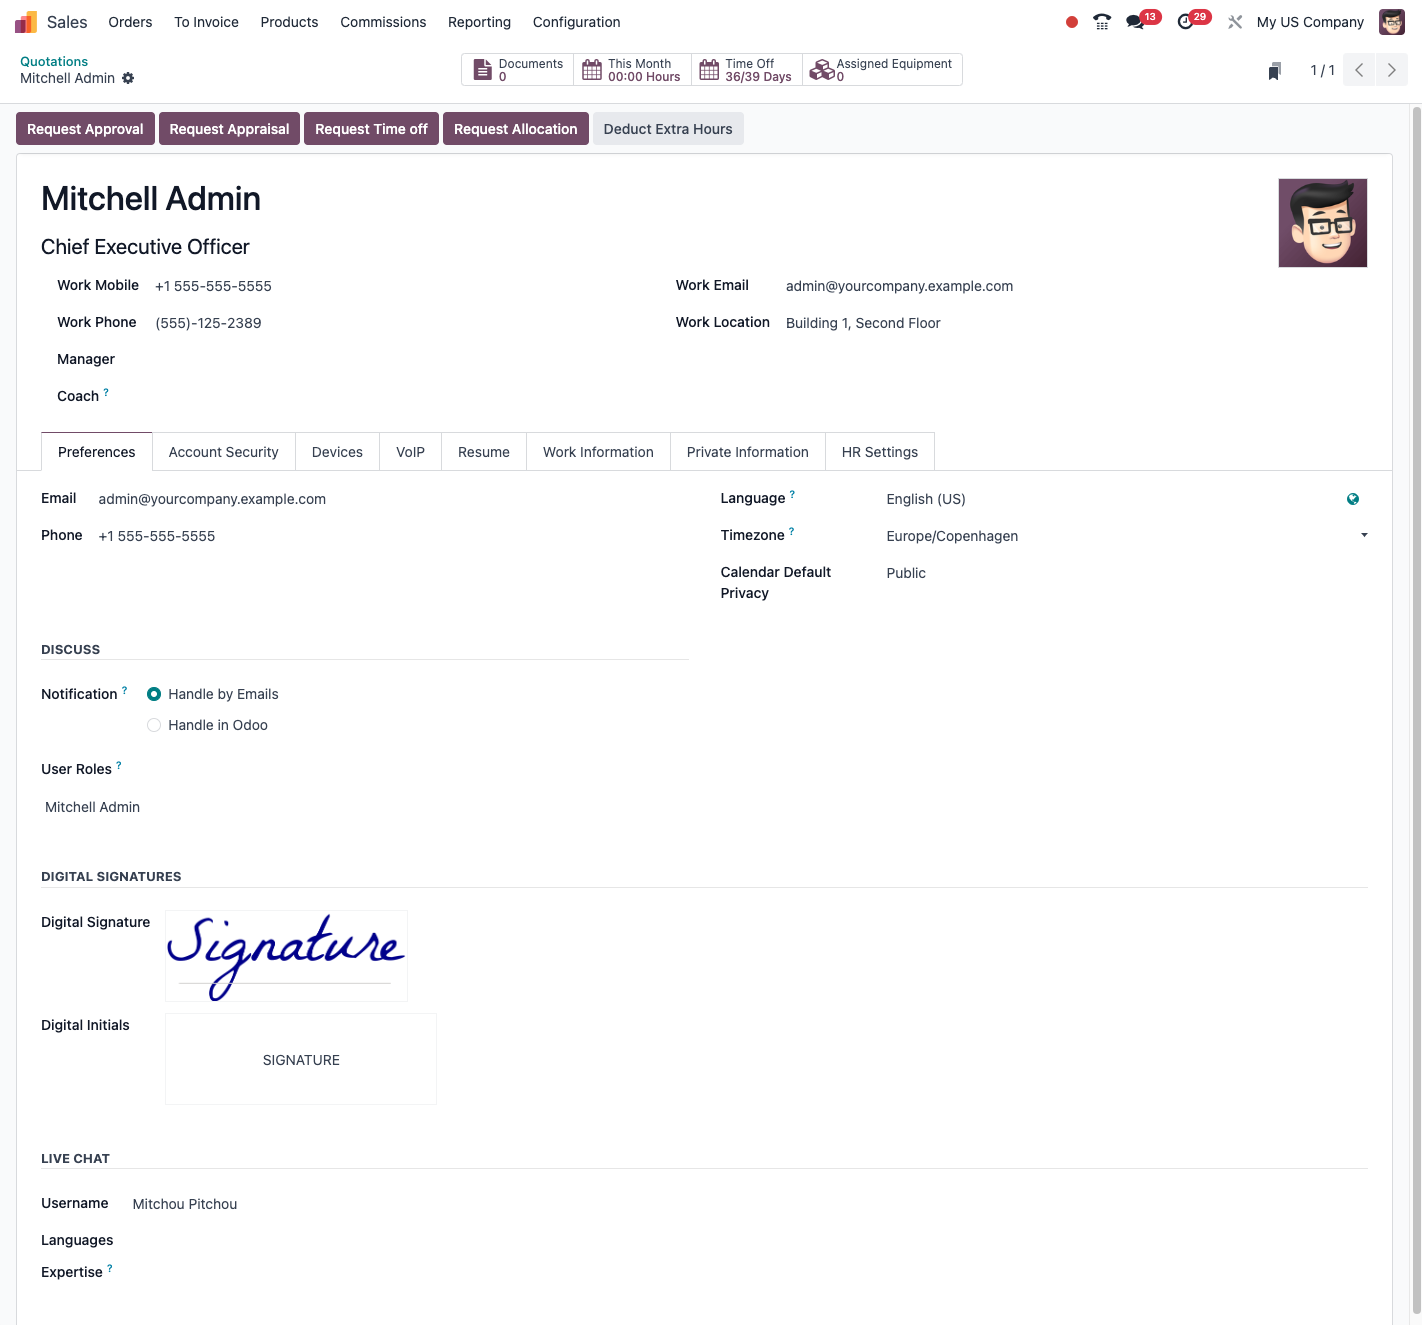
To tailor your Odoo experience:
- Click your avatar at the top right.
- Select Preferences.
- Change the settings to suit you: - profile picture; - display language; - timezone; - date and time format; - email signature.
- Click Save to apply the changes.
Note
For the full list of the shortcuts available, see the "Keyboard shortcuts" appendix at the end of this document.
Help and support
Contextual help
Odoo offers contextual help from the interface:
- Click the help icon at the top right.
- Select Documentation to reach the online help.
- Or choose the support entry to contact the support team, where that is available.
Developer mode
Developer mode offers advanced features for administrators:
- Click your avatar at the top right of the screen.
- Select Settings.
- Enable the developer mode option.
- Or add
?debug=1to the end of the URL.
Tip
Developer mode gives access to technical information, lets you customise views, run advanced actions and solve certain problems.