Invoicing
Relation with the exercise book
This chapter gives you the concepts you need to handle your customer and vendor invoices effectively, and to follow the payments.
Introduction to invoicing in Odoo
Odoo's Invoicing module (also called Accounting) handles all the financial flows tied to sales and purchases. It creates the invoices, follows the payments and makes bank reconciliation easier, all while preparing the data for the accounts.
Note
Even if you do not use Odoo for full accounting, the Invoicing module remains essential for the commercial and financial follow-up of your business.
Configuring the Invoicing module
Basic settings
To configure the module to suit your needs:
- Open Accounting › Configuration › Settings.
- Configure the main options: - Chart of Accounts: select the one matching your country. - Main Currency: the reference currency for your accounts. - Fiscal periods: the definition of the financial year. - Taxes: configuring the various VAT rates.
- Advanced options, as you need them: - Multiple currencies: to invoice in different currencies. - Credit note handling: for refunds and corrections. - Analytic Accounting: to allocate expenses and revenue.
- Click Save to apply the settings.
Configuring the journals
Journals are the entry points for recording transactions:
- Open Accounting › Configuration › Accounting › Journals.
- Check the predefined journals: - the sales journal; - the purchase journal; - the bank journal; - the cash journal; - the miscellaneous operations journal.
- Tailor the numbering sequences to your organisation.
Tip
You can create several sales journals to separate your activities, sales of goods on one side and services on the other for instance.
Configuring the payment terms
Define the standard payment terms for your customers and vendors:
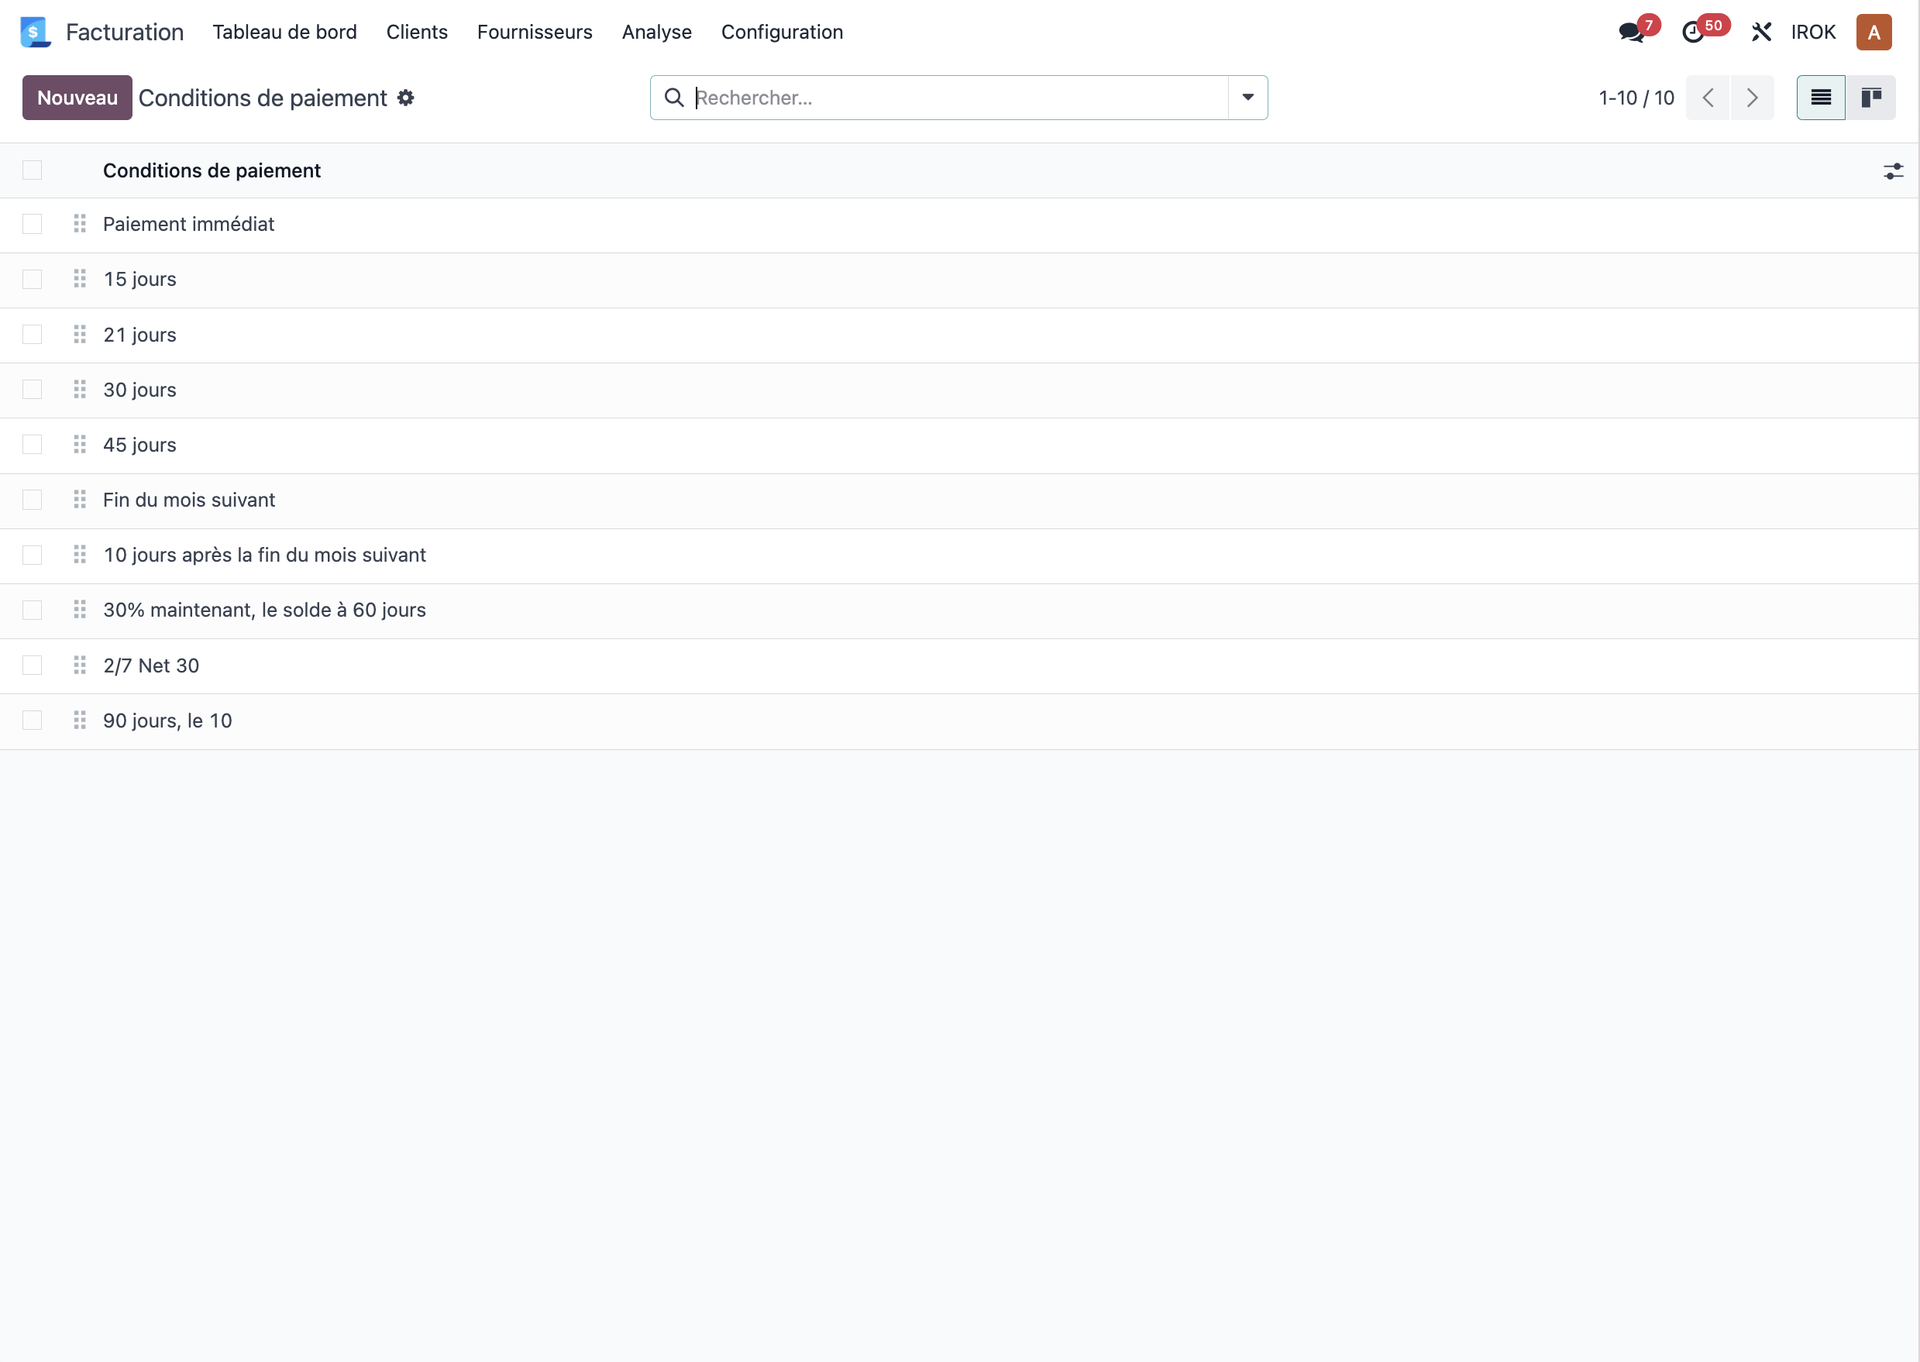
- Open Accounting › Configuration › Invoicing › Payment Terms.
- Create or edit the terms to match your practice: - immediate; - 15 days; - 30 days end of month; - 45 days end of month; - and so on.
- Those terms are then offered automatically when invoices are created.
Configuring Peppol electronic invoicing
Peppol is an international standardised network for transmitting invoices electronically:
- Open Accounting › Configuration › Settings.
- Enable electronic invoicing through Peppol.
- Follow the instructions to configure your Peppol access point.
Note
Electronic invoicing through Peppol is becoming mandatory in many European countries. In France it is being rolled out in stages between 2024 and 2026 according to the size of the business. Peppol allows electronic invoices to be exchanged securely between businesses, whatever accounting software they use. The standardised format speeds up processing and improves tax compliance.
Customer invoicing
Creating an invoice
To create a customer invoice by hand:
- Open Accounting › Customers › Invoices.
- Click Create.
- Fill in the main information: - select the customer; - set the invoice date; - choose the payment terms; - add the product or service lines; - check the taxes applied.
- Click Save to create a draft.
- Check the document, then click Validate to confirm the invoice.
Invoicing from a sales order
To invoice an existing sales order:
- Open the sales order concerned in the Sales module.
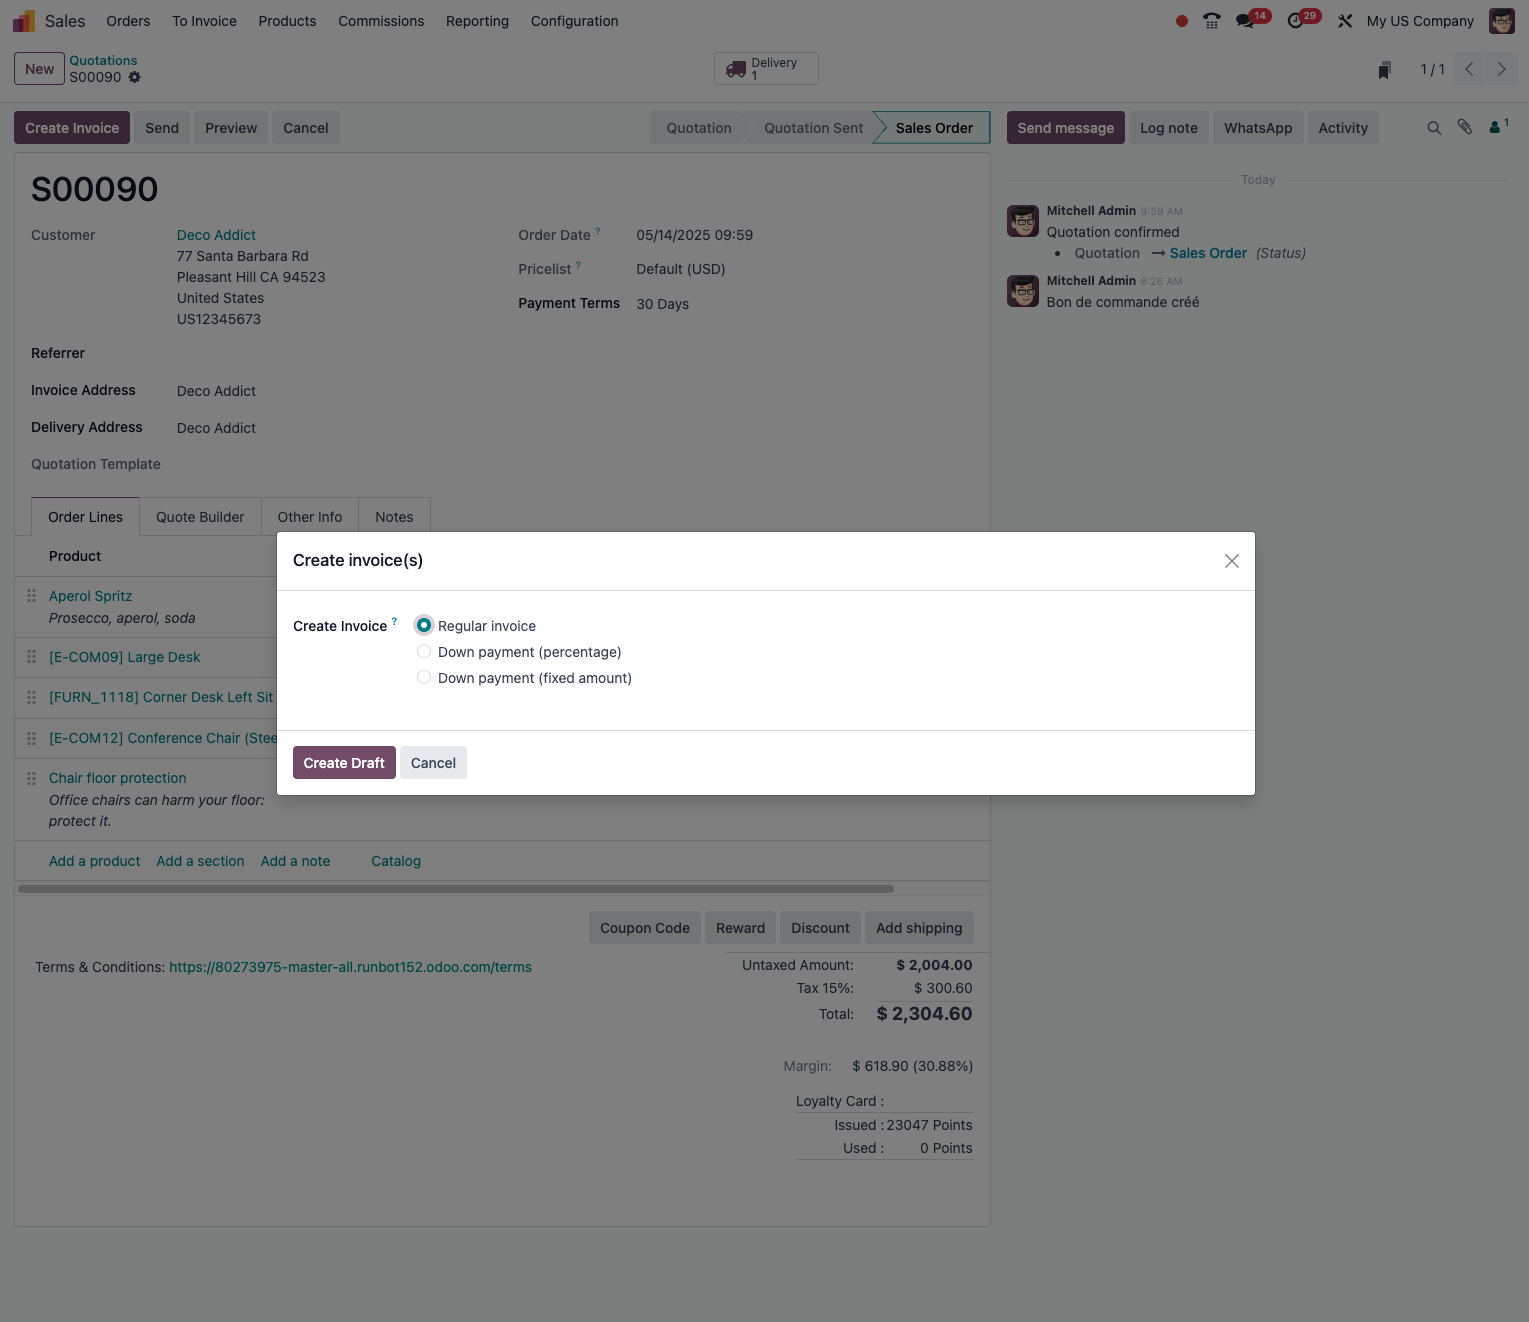
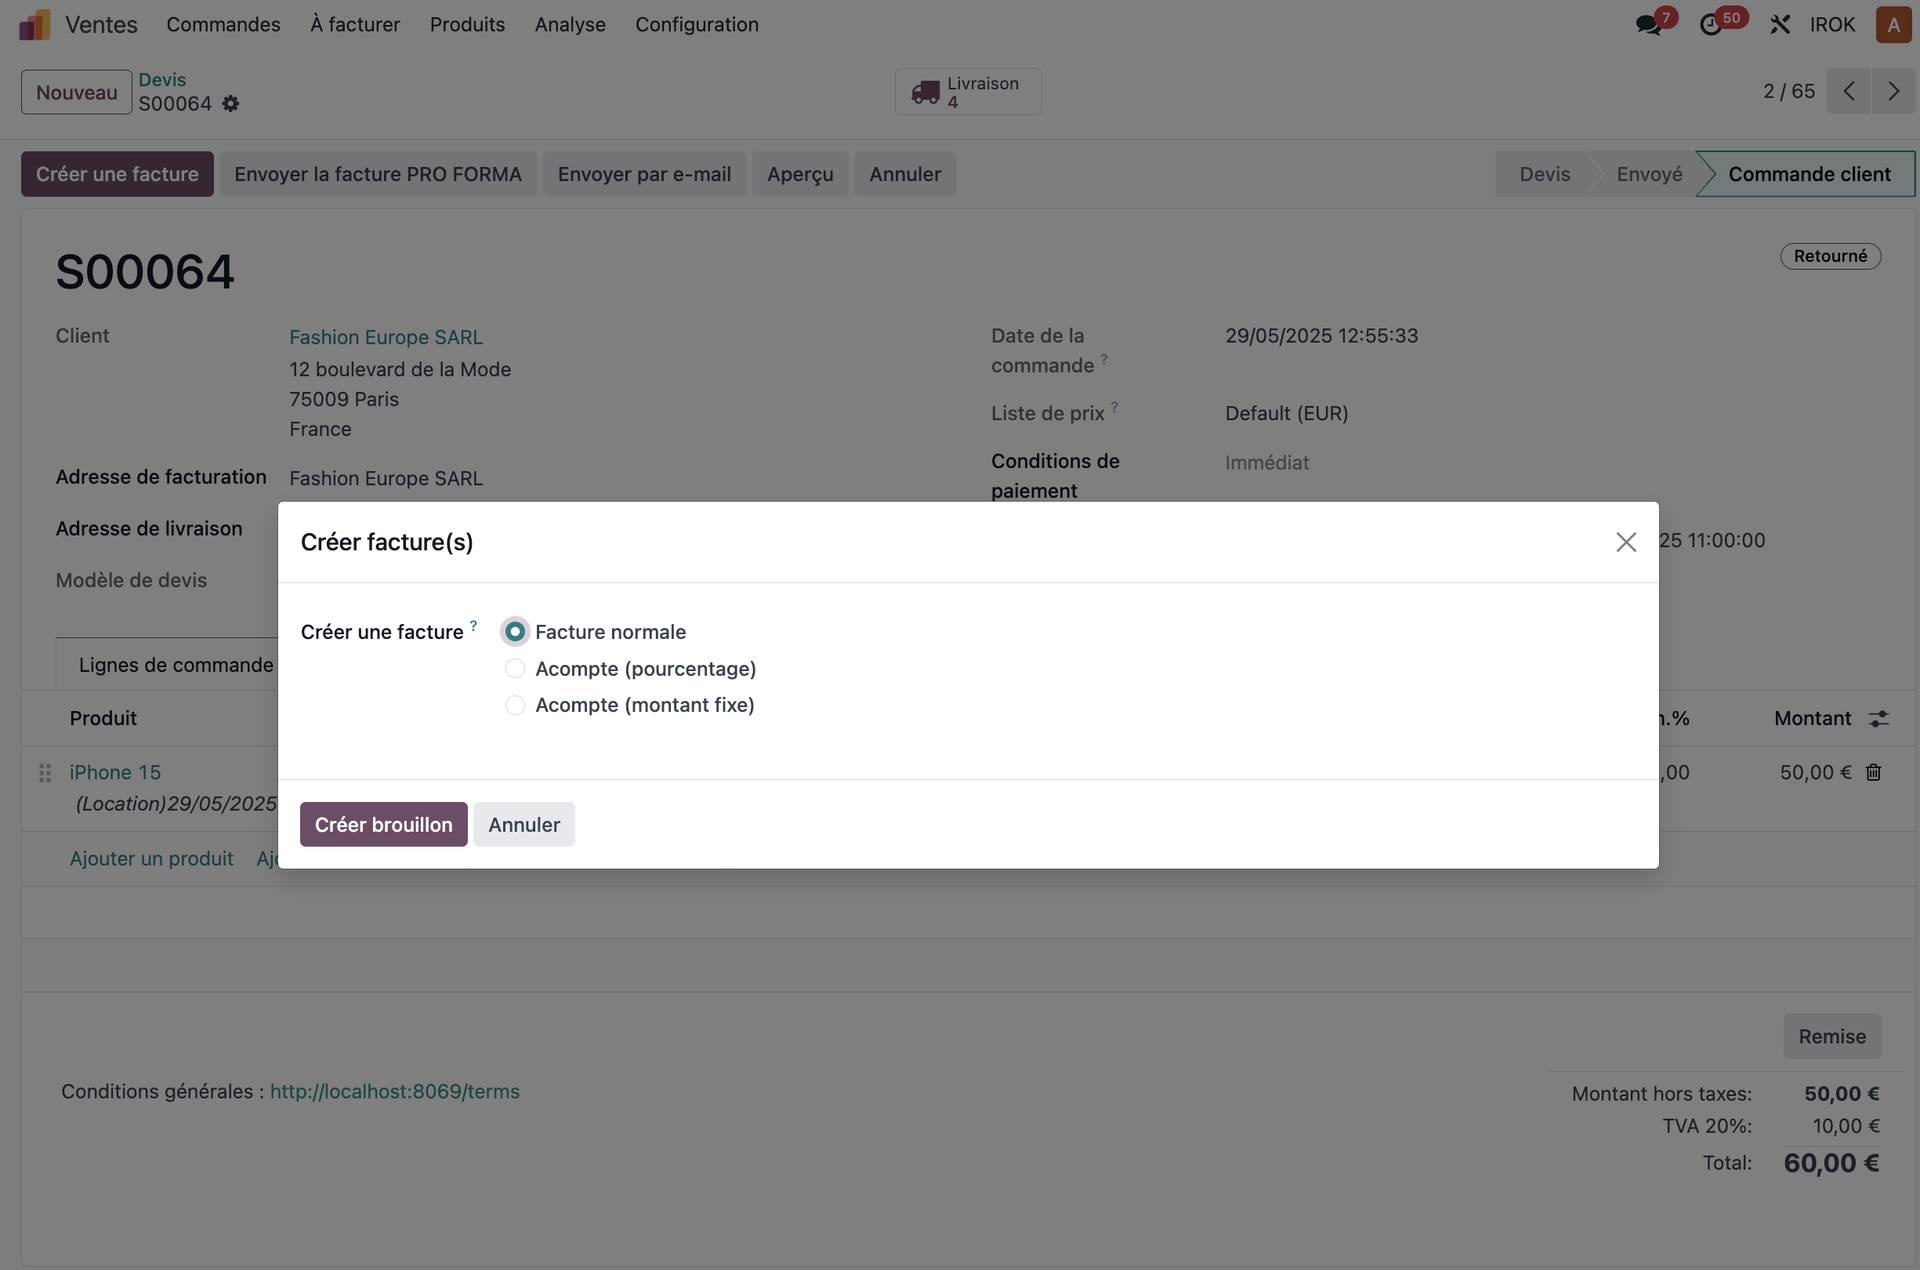
- Click the Create Invoice button.
- Choose the invoicing mode: - Regular invoice: invoicing the whole order; - Down payment: partial invoicing, as a percentage or a fixed amount; - Delivered quantities: invoicing based on the products already delivered.
- Check the information and adjust it where needed.
- Click Create Invoice then Validate.
Note
When you invoice from a sales order, the lines are linked automatically, which makes it easier to follow partial invoicing and the overall status of the order.
Grouped invoicing
To invoice several orders from the same customer on a single invoice:
- Open the orders to invoice in the Sales module.
- Select several orders from the same customer.
- Click Action then Create Invoices.
- Configure the grouping options: - by order, giving one invoice per order; - by customer, giving a single invoice gathering every order.
- Confirm to create the invoice or invoices.
Tip
Grouped invoicing is particularly useful for regular customers placing many small orders. It reduces the number of invoices to handle and simplifies payment follow-up.
Recurring invoicing
To automate the invoicing of recurring services:
Note
In Odoo, recurring invoicing uses the auto-post mechanism rather than separate "recurring invoice templates". The feature is configured directly on the draft invoices.
- Create a draft invoice for the recurring service.
- On the invoice, configure the auto-post settings: - the frequency: monthly, quarterly, yearly; - the date of the next generation; - the end date, optionally.
- Validate the initial invoice.
- The system then creates the following invoices automatically at the periodicity defined.
Handling customer payments
Recording a payment
To record the payment of an invoice:
- Open the invoice concerned.
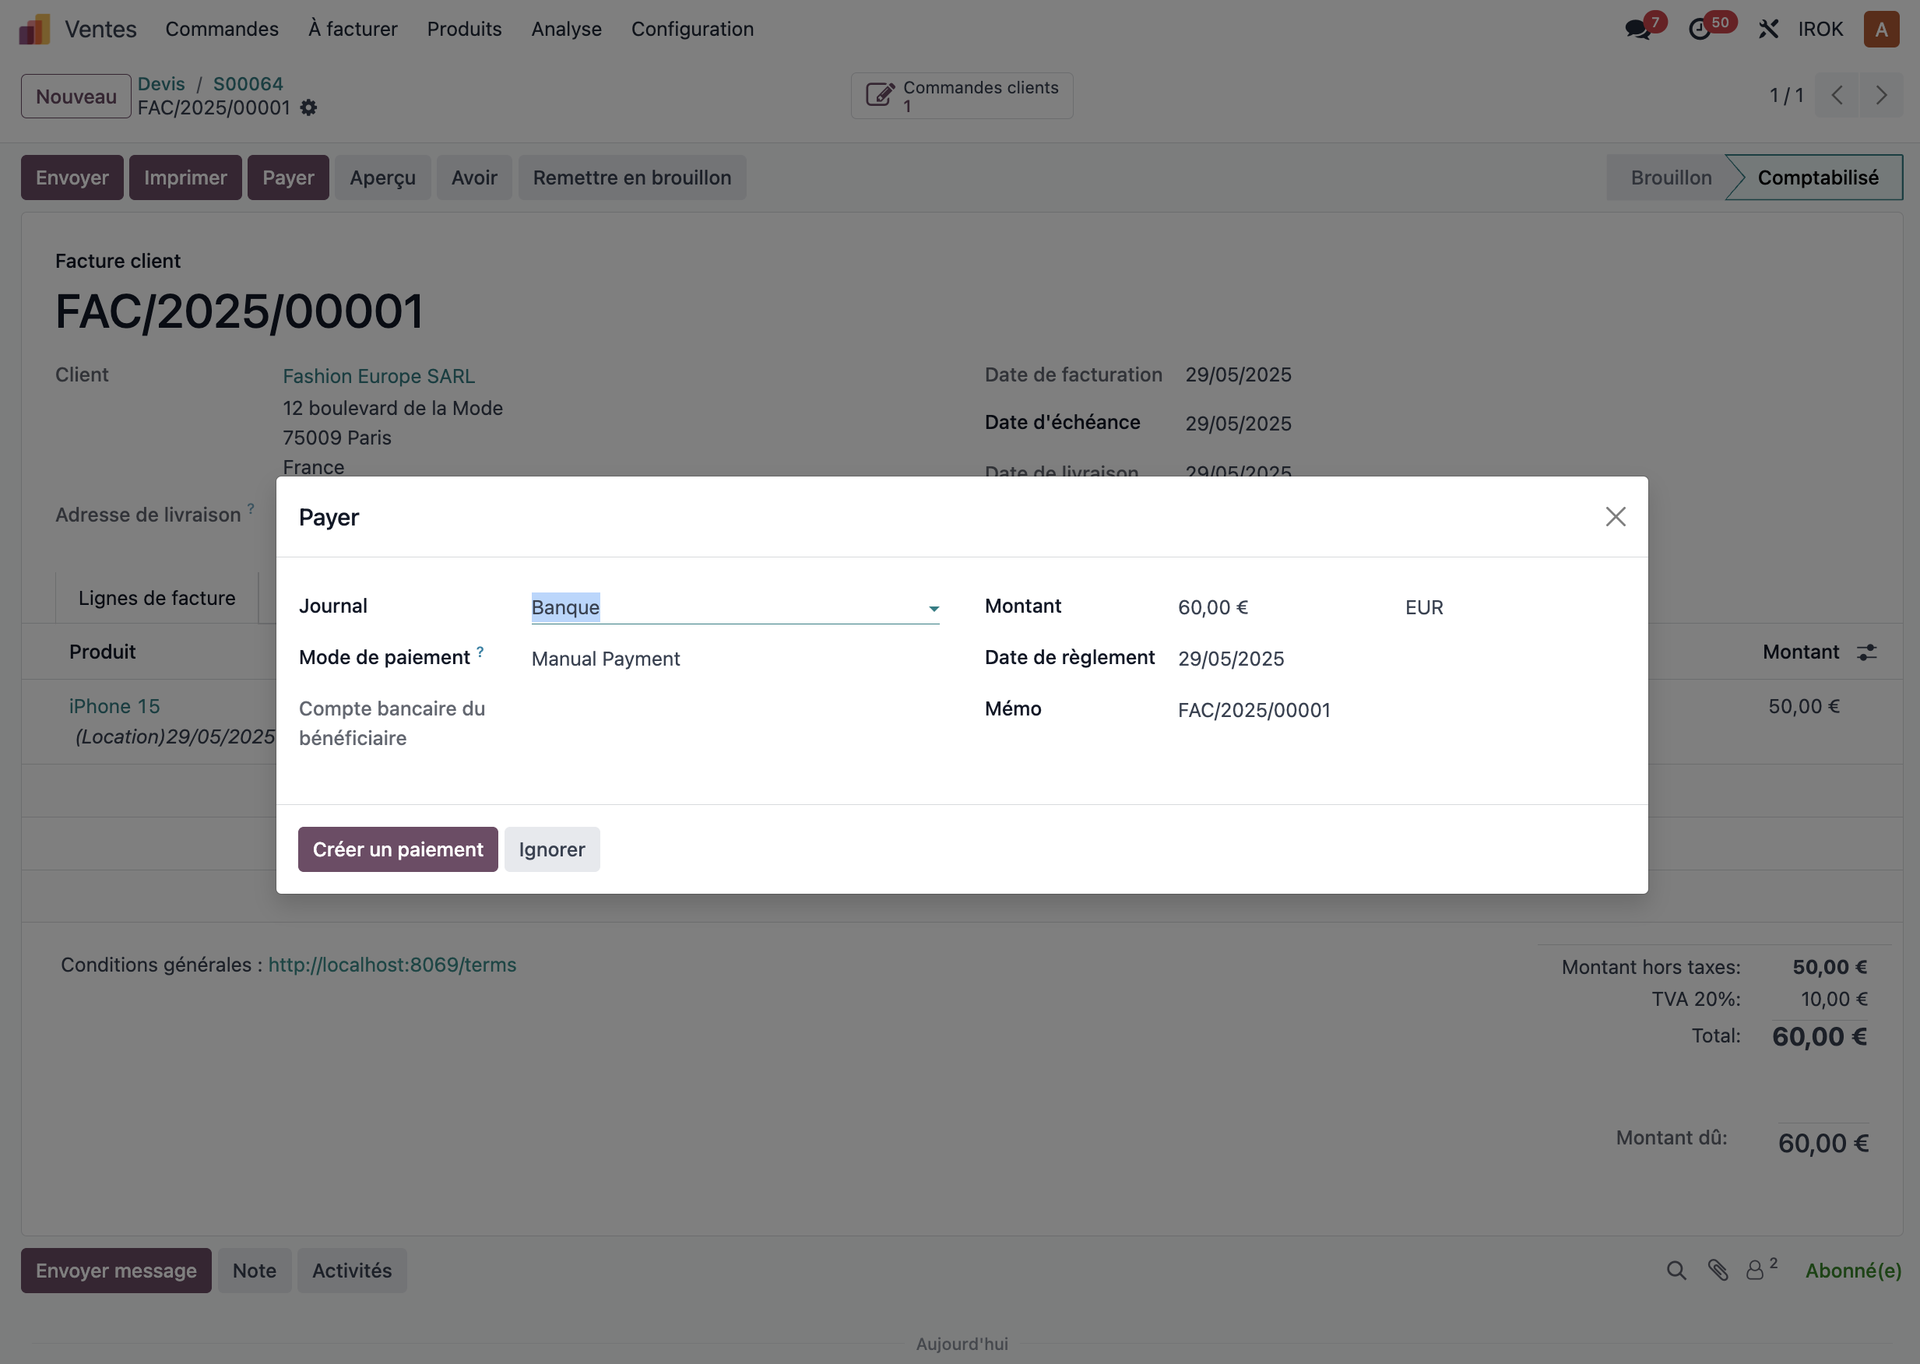
- Click the Register a payment button.
- Fill in the details of the payment: - the amount, the outstanding balance by default; - the date of the payment; - the journal: bank, cash and so on; - the payment method: cheque, transfer, card and so on; - the payment reference, such as a cheque number.
- Click Validate to confirm the payment.
- The invoice moves to the "Paid" status.
Partial payments
To record a down payment or a partial payment:
- Follow the same procedure as for a full payment.
- Change the amount to the sum actually received.
- Confirm the payment.
- The invoice moves to the "Partially paid" status.
- An outstanding balance appears on the invoice.
Tip
You can record as many partial payments as needed until the invoice is settled in full.
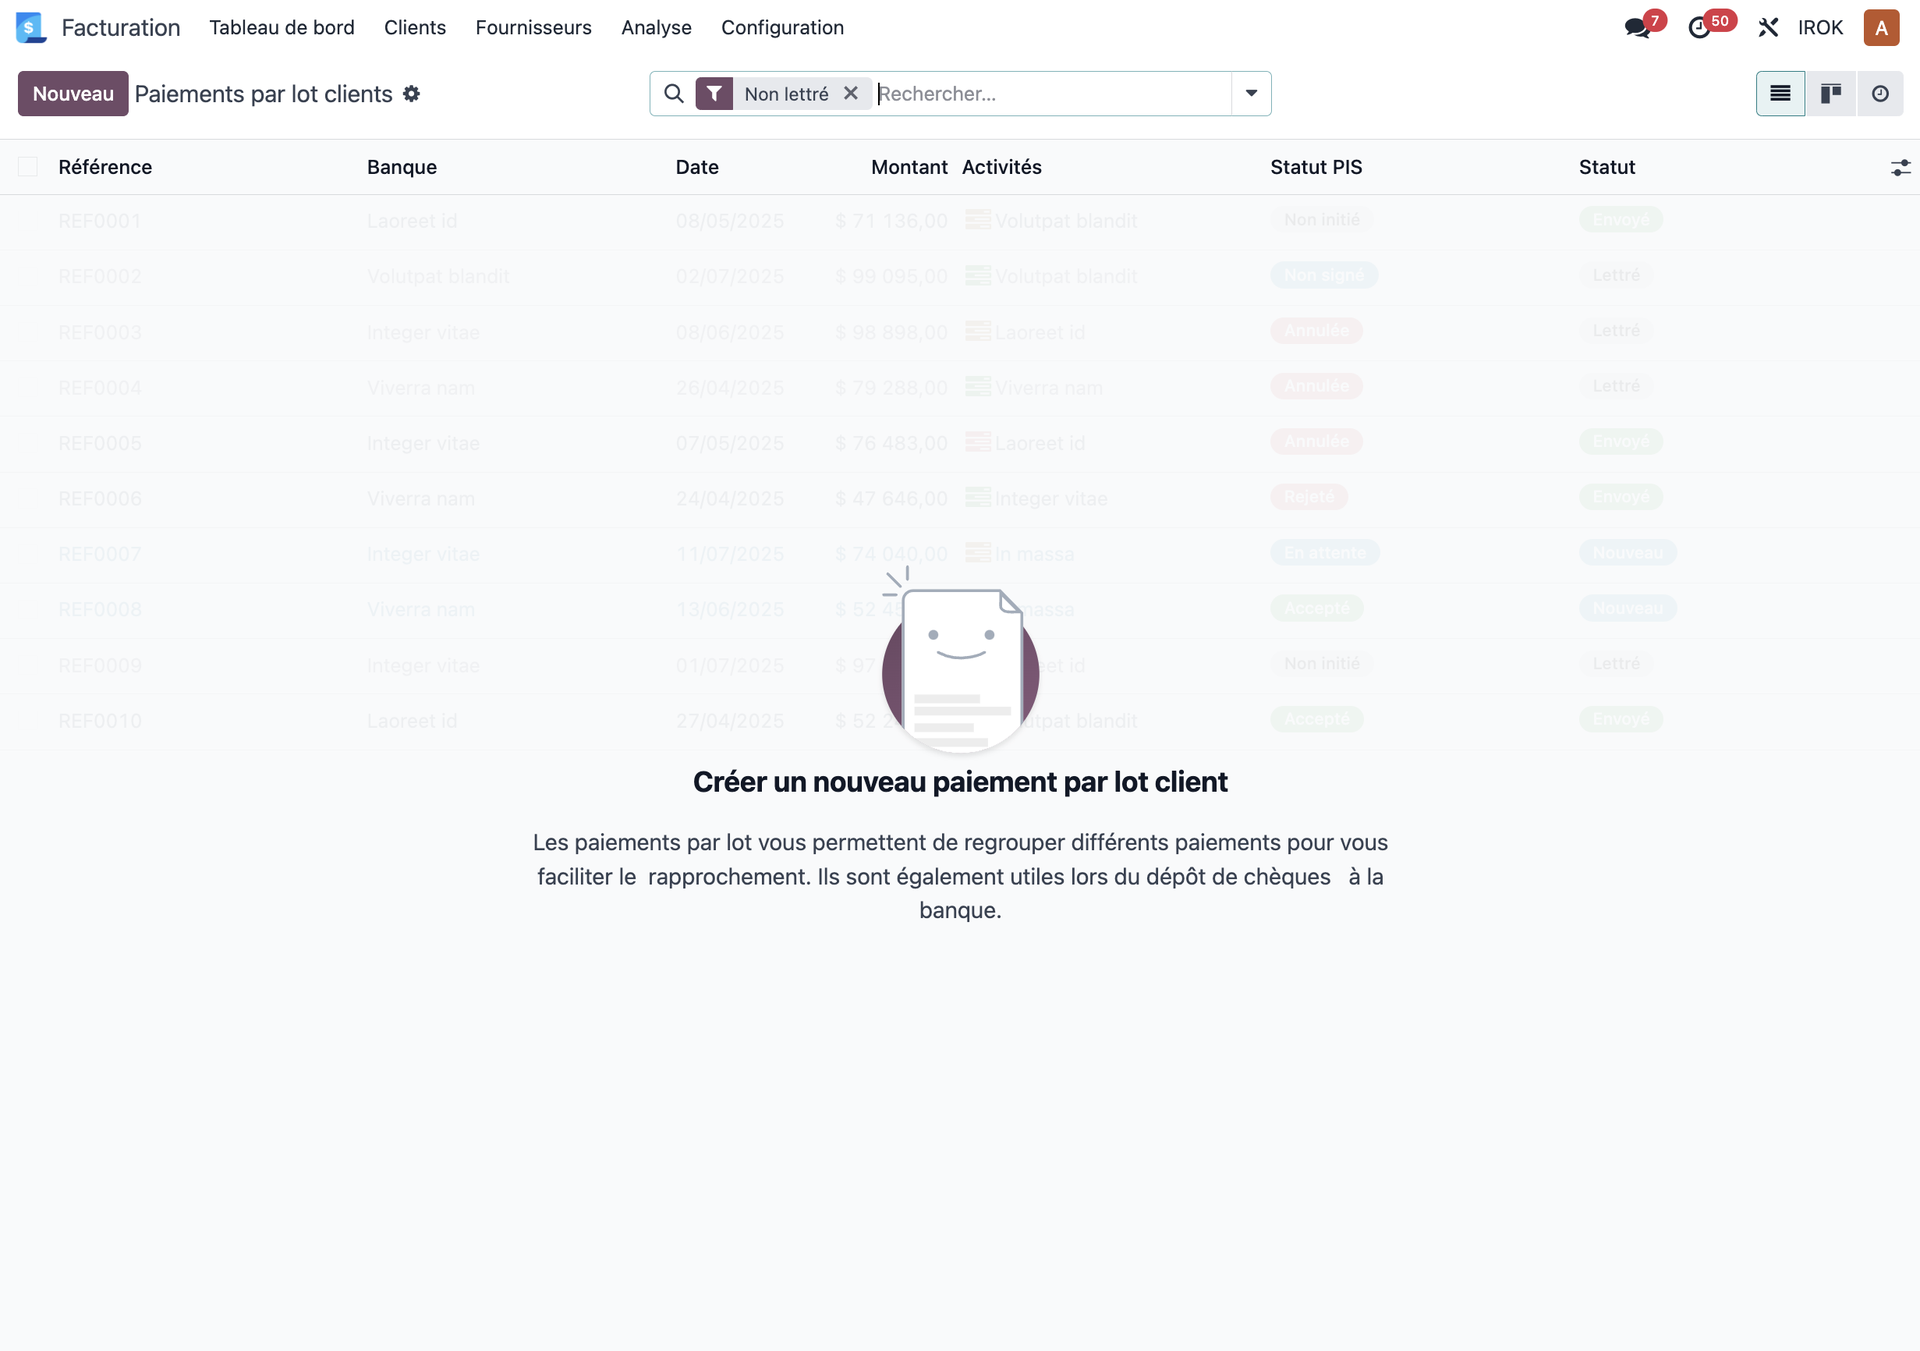
Grouped payments
To handle several customer payments in a single operation:
- Open Accounting › Customers › Payments.
- Click Create.
- Select the customer concerned.
- Odoo displays every open invoice of that customer.
- Fill in the amounts paid against each invoice.
- Complete the payment information: method, date, reference.
- Confirm the grouped payment.
Handling vendor bills
Entering vendor bills
To record a vendor bill:
- Open Accounting › Vendors › Bills.
- Click Create.
- Select the vendor.
- Fill in the vendor's reference, that is their own invoice number.
- State the bill date.
- Add the lines matching the products or services bought.
- Check the taxes and the accounts.
- Save, then validate the bill.
Vendor bills from purchase orders
To create a bill from a purchase order:
- Open the purchase order concerned.
- Click Create Invoice.
- Choose the invoicing method: - on ordered quantities: invoicing the whole order; - on received quantities: only the products already received.
- Check the information carried over from the order.
- Add the vendor's reference.
- Validate the bill.
Note
When a vendor bill arrives, always compare the prices and quantities with the matching purchase order, to catch any difference.
Paying vendor bills
To record the payment of a vendor bill:
- Open the bill concerned.
- Click Register a payment.
- Fill in the details of the payment: - the amount; - the journal, that is the bank; - the date; - the payment method; - the reference, such as a transfer number.
- Confirm the payment.
Credit notes and refunds
Creating a customer credit note
To handle a product return or to grant a reduction after invoicing:
- Open the invoice concerned.
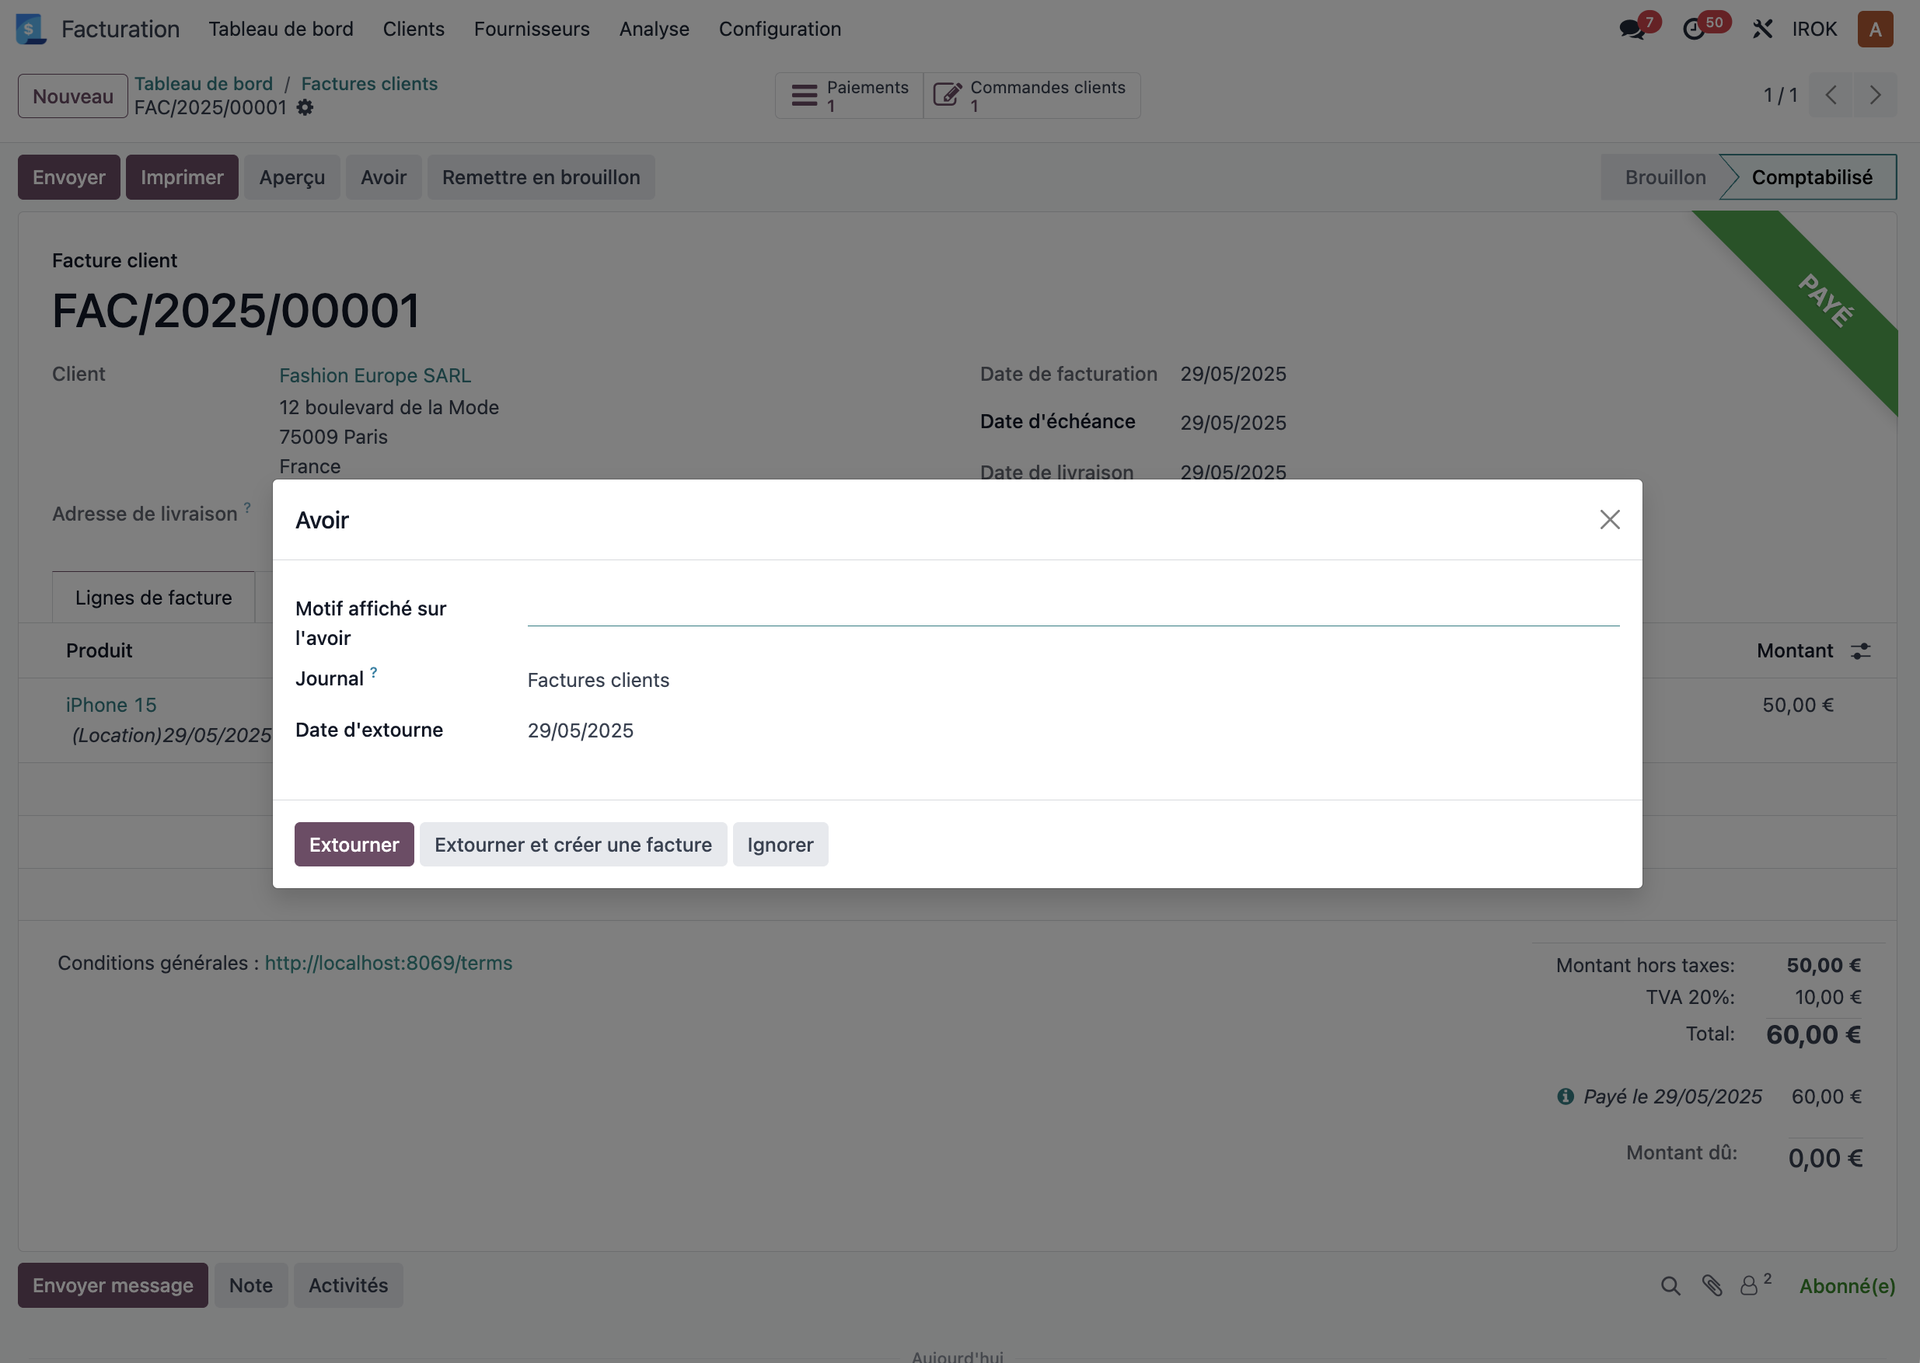
- Click the Credit Note button.
- In the Credit Note window, fill in the reason shown on the credit note.
- Update the journal and the reversal date where needed.
- Choose one of the two options: - Reverse: creates a draft credit note with the details of the original invoice, which allows partial changes; - Reverse and Create Invoice: creates the credit note, validates it, reconciles it against the invoice and opens a new invoice.
- Confirm the credit note if you chose the first option.
Refunding a customer
To refund a customer:
- If you created a credit note to keep as such: - open the credit note concerned; - click Register a payment; - select the refund option; - complete the refund information; - confirm the operation.
- The status of the credit note moves to "Paid".
Tip
You can also use a credit note to offset future invoices from the same customer, with no refund made. That is often preferable for keeping the customer's loyalty.
Follow-up and chasing
Following unpaid invoices
To handle customer exposure effectively:
- Open Accounting › Customers › Invoices.
- Apply the Unpaid filter to see only the unpaid invoices.
- See every invoice awaiting settlement.
- Filter by: - due date; - customer; - amount; - age.
- Export the list where an outside tool is needed.
Automatic chasing
Note
Automatic chasing requires the "Account Followup" module, which is available in Odoo Enterprise only. The feature is not part of the Community edition.
To automate payment reminders:
- Open the follow-up configuration in Accounting, available in Odoo Enterprise only.
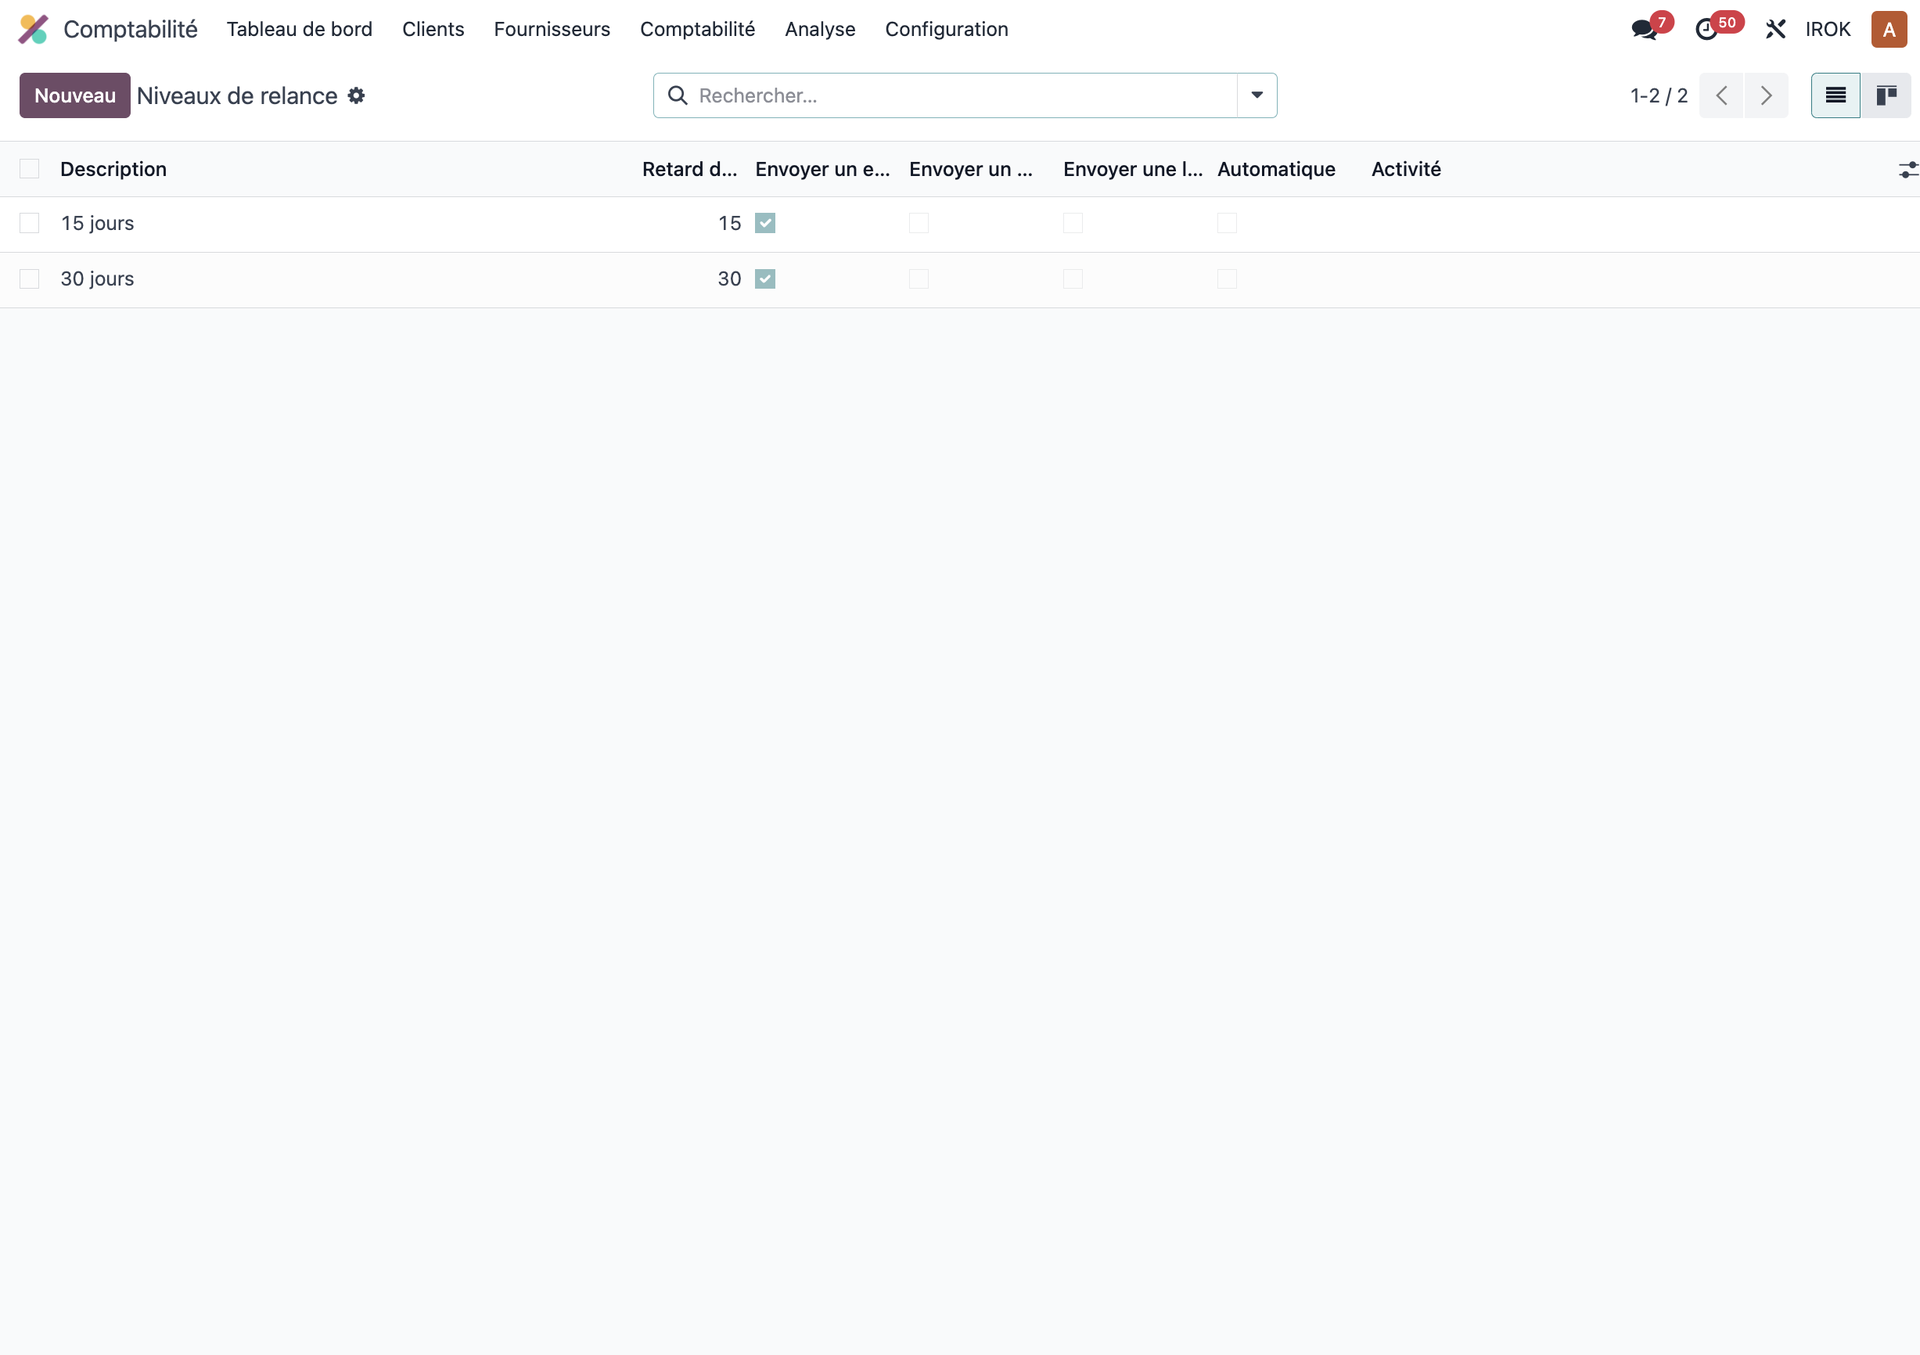
- Configure several levels of chasing: - level 1: a polite reminder, 7 days after the due date; - level 2: a firm chase, 14 days after the due date; - level 3: a formal notice, 30 days after the due date.
- For each level, tailor: - the text of the message; - the trigger delay; - the way it is sent: email, letter.
- Enable automatic chasing in the settings.
Note
A well-configured chasing system improves your payment times significantly and reduces your working capital requirement.
Financial reports
Invoicing reports
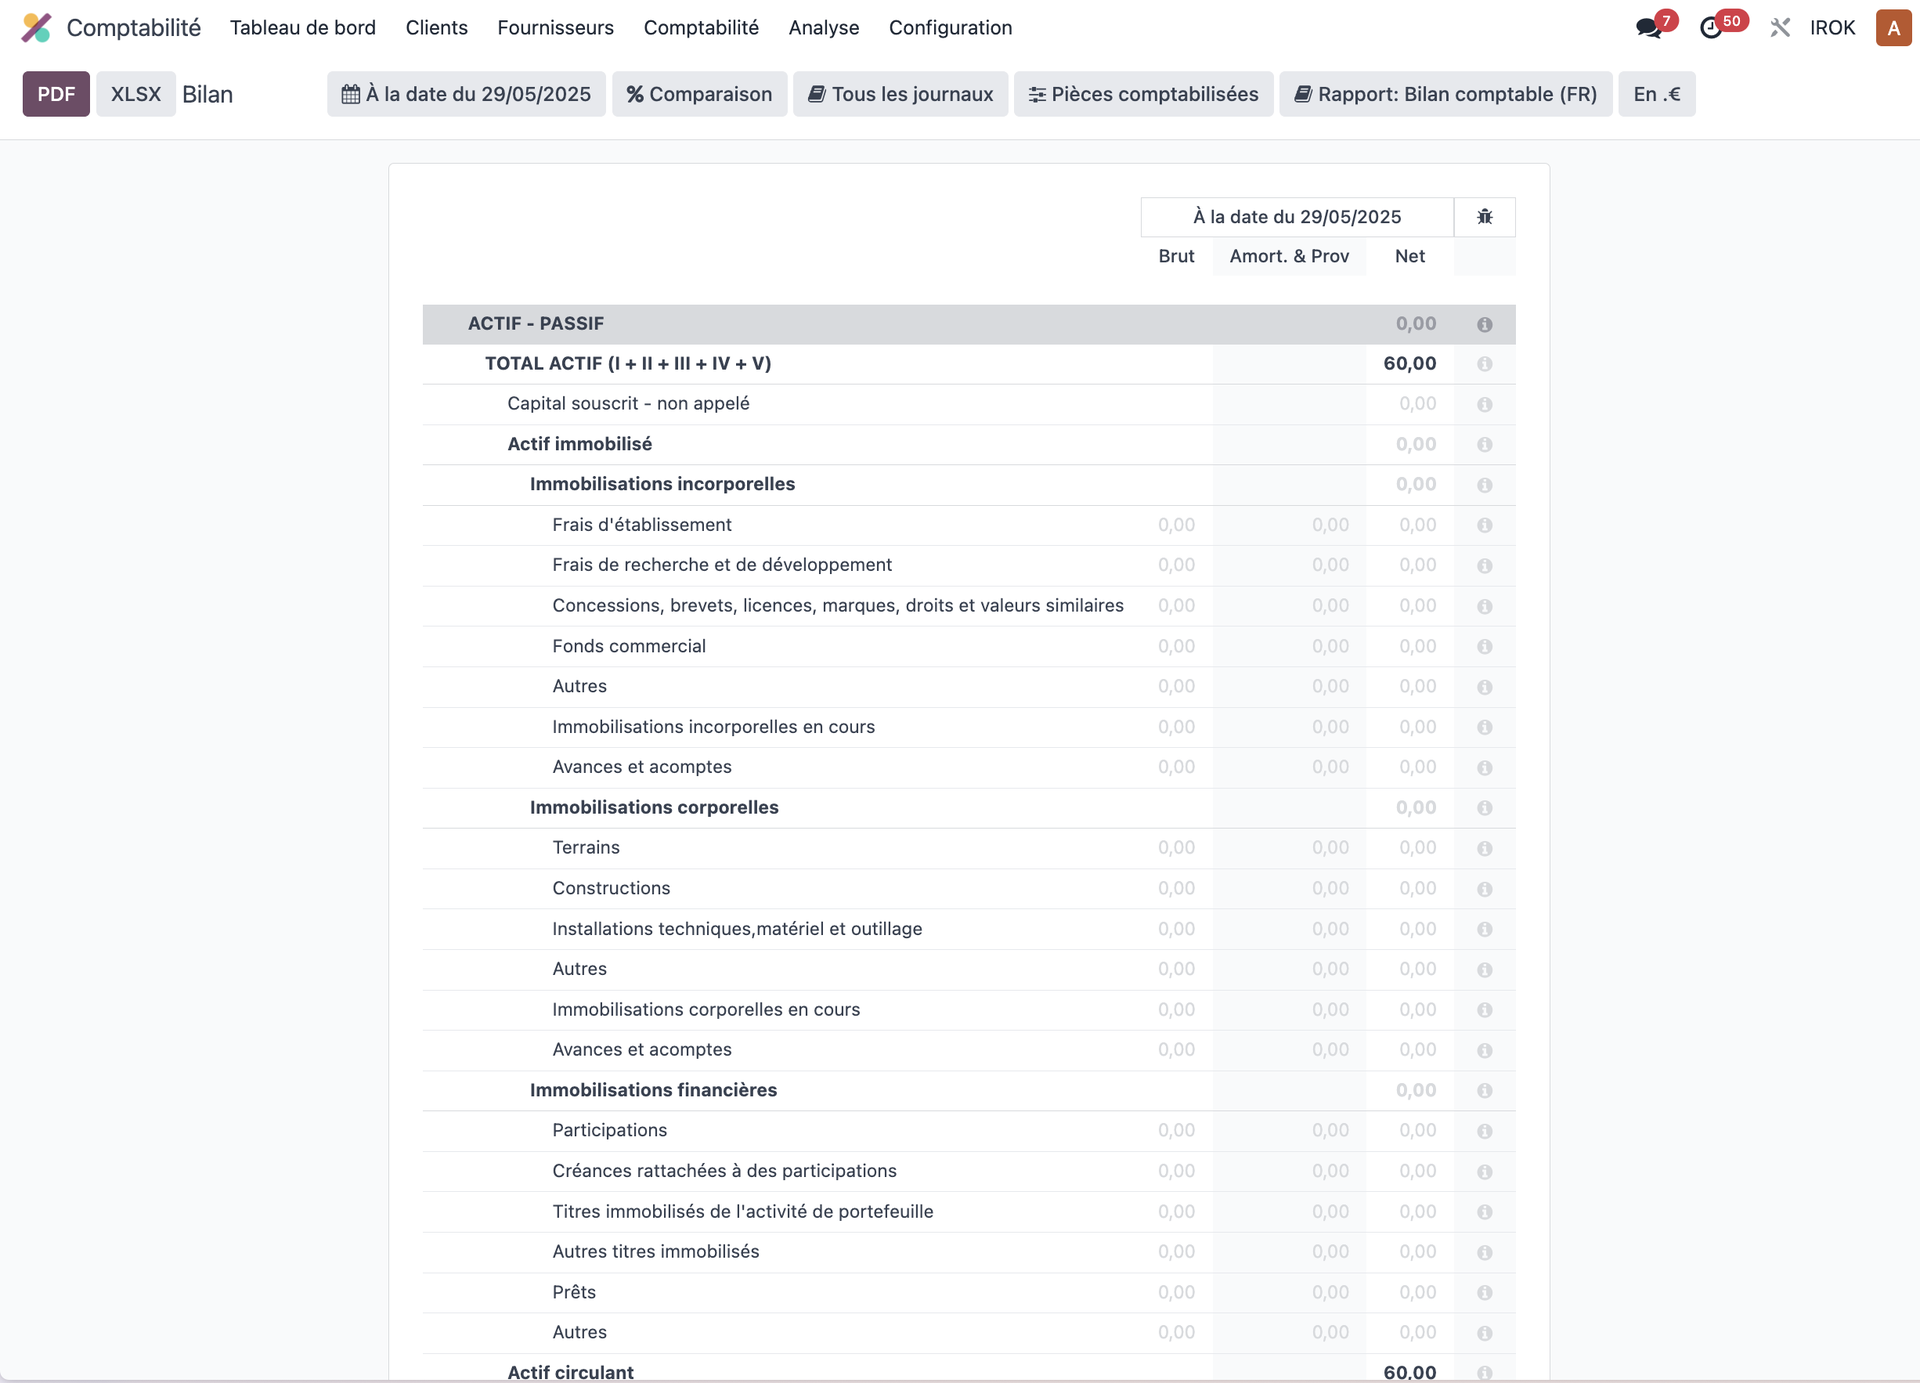
Odoo offers several standard reports for following your invoicing:
- Sales journal: a chronological list of the invoices issued.
- Purchase journal: a chronological list of the bills received.
- Aged Receivable: a forecast of the receipts to come.
- Aged Payable: a forecast of the payments to come.
- Turnover analysis: a breakdown by product, customer and so on.
Custom dashboards
To build summary views suited to your needs:
Note
Odoo's main dashboard is reached from the Accounting application. It automatically displays summary information on your journals and financial indicators. Advanced dashboard customisation generally calls for specific development or for outside reporting tools.
- Open the Accounting dashboard to see the predefined indicators.
- Look at the widgets available: - a summary of the journals with their current balances; - invoices awaiting payment; - payments to process; - planned activities.
- Use the analysis reports for more detailed views.
- For advanced dashboards, look at the Odoo App Store for specialised modules.
Tip
Build dashboards for different users: a cash-oriented one for the finance director, a sales-oriented one for the sales director, and so on.
Tax and filings
Handling VAT
Note
Modules required: automated tax filings require the Enterprise modules "Account Reports"
(account_reports) and "French Reports" (l10n_fr_reports). Those features
considerably extend the base capabilities of Odoo Community.
With the Enterprise modules installed, to follow and file VAT:
- Open Accounting › Reporting › Statement Reports › Tax Return.
- Select the period concerned.
- Consult the VAT report, which automatically details: - VAT collected on sales, with French rounding; - deductible VAT on purchases; - the net balance payable to the tax authority.
- Use the closing entry button to generate the tax entry.
- Use the electronic filing button to send the return to the French tax authority.
- Export to PDF or download to Excel for your records.
Advanced Enterprise features
The Enterprise modules add specialised features:
- Automatic tax closing: the closing entries are generated automatically.
- Rounding compliant with French regulations: the official rounding rules are applied.
- Electronic data interchange: direct transmission to bodies such as the French tax authority.
- Audit trail: full traceability of the returns submitted.
- Multi-company handling: consolidation of the returns for groups of companies.
The alternative in Odoo Community
Without the Enterprise modules, VAT handling comes down to:
- Configuring the taxes: from the accounting configuration.
- Consulting the entries: from the journal items.
- Manual export: preparing the returns by hand through a CSV or Excel export.
- Manual computation: aggregating the amounts for the official returns.
Tip
Always check that your taxes are correctly configured on the products and services, to avoid errors in your returns, whether you use Community or Enterprise.
Closing a period
At the end of each accounting period:
- Make sure every invoice of the period is entered.
- Check that every payment is correctly recorded.
- To lock a period, open Settings › Users & Companies › Companies.
- Open your company and set the lock dates: - Sales lock date: prevents customer invoices being changed before that date. - Accounting lock date: prevents any accounting change before that date.
- Save the changes to apply the lock.
Note
In Odoo there is no "close a period" function in the traditional sense. The system uses lock dates, which prevent changes before a given date, while the entries stay readable.
Integration with accounting
Transferring to outside accounting software
Note
Exporting the accounting entries calls for country-specific modules. For France, the
l10n_fr_fec module (Enterprise) produces the mandatory FEC format. Other export
formats may need additional modules or specific development.
If you use outside accounting software alongside Odoo:
- Manual export from the data views: - open the journal items in Accounting; - use the filters to select the period you want; - export to Excel or CSV from the Action menu.
- FEC export (France only, Enterprise module):
- requires the
l10n_fr_fecmodule; - reached from the French reports in Accounting. - Other export formats: - specific development depending on the target accounting software; - third-party modules available on the Odoo App Store.
Note
For the integration to work smoothly, check that your chart of accounts in Odoo matches exactly the one used in your outside accounting software.
Good practice and advice
Organising effectively
Advice for running invoicing well:
- Invoice regularly: do not wait to invoice your customers, set a fixed schedule.
- Digitisation: systematically scan and attach vendor bills to your records.
- Checking: check vendor bills against the purchase orders and the receipts.
- Following due dates: look daily at the invoices coming due.
- Grouped payments: group your vendor payments by date to manage cash better.
- Documentation: always note the reason for credit notes and refunds.
Improving the invoicing process:
- Automation: use recurring invoicing for regular services.
- Checking first: check product availability before confirming a sale.
- Consolidation: invoice customers with several orders in one go.
- Online payment: enable online payments to speed up your receipts.
- Systematic chasing: automate the reminders to shorten payment times.
Solving common problems
The invoice is in the wrong state.
- Check the current status of the invoice.
- For a draft invoice, click Validate to confirm it.
- To cancel a validated invoice, create a credit note.
- If an invoice reads "Partially paid" but should read "Paid", check the payment amounts.
- For more complex problems, consult the message history attached to the invoice.
The taxes are wrong on the invoice.
- Check the customer's fiscal position: domestic, intra-community, export and so on.
- Check the tax configuration of the products concerned.
- If the invoice is still a draft, change the taxes directly.
- If the invoice is already validated, create a credit note and then a correct new invoice.
Note
Most invoicing errors can be corrected in Odoo. To preserve the integrity of the accounts, however, those corrections must always go through official documents (credit notes, new invoices) rather than through direct changes.
A complete worked example
A use case: the full invoicing cycle
Here is a complete flow in Odoo, from sale to payment:
- Creating the sale: - company ABC orders 20 units of product X at 100 € each; - a quotation is created and then confirmed into an order.
- Delivery: - the products are delivered to the customer on a delivery order; - the delivery is validated in the system.
- Invoicing: - an invoice is generated from the order; - the invoice is validated for 2,000 € excluding tax (2,400 € including tax); - it is emailed to the customer automatically.
- Payment: - fifteen days later, the customer makes a transfer of 2,400 €; - the payment is recorded in Odoo with its own reference; - the invoice moves to the "Paid" status.
- Closing: - at the end of the month, every transaction is checked; - the transfer appears on the bank statement and is reconciled; - the accounting entries are generated automatically.
Tip
Used properly, each step in Odoo naturally feeds the next, with no double entry and with full traceability.